
How to Create Digital Planner Dividers

How to Create Digital Planner Dividers is a practical topic for creators who want to build digital planners, journals, printables, and template products that feel useful instead of just decorative. A good planner product gives the buyer a clear workflow: open the file, understand where to go, write or type in the right place, review progress, and return to the planner again tomorrow.
- Table of Contents
- Overview: What You Are Creating
- Essential Pages and Assets to Include
- Creation Workflow Table
- Design and User Experience Tips
- Creation Workflow: From Idea to Finished Product
- 1. Define the Promise
- 2. Build the Page Map
- 3. Design the Core Pages First
- 4. Add Links and Export Correctly
- 5. Package the Download
- Selling, Bundling, and Monetization Ideas
- Useful Resources for Digital Product Creators
- Creator Monetization Resource: Try Teachable
- Further Reading on SenseCentral
- Suggested Keyword Tags
- FAQs
- Can I sell a digital planner dividers planner on Etsy?
- Should I make the planner dated or undated?
- Do hyperlinks work in GoodNotes and Notability?
- What file format should I deliver?
- How can I make the product feel more valuable?
- Key Takeaways
- References and Helpful External Resources
For SenseCentral readers, the opportunity is bigger than one PDF. A strong digital planner dividers product can become an Etsy listing, a Gumroad download, a Canva template, a GoodNotes planner, a Notability-friendly PDF, a bonus for an email list, or part of a larger digital product bundle. The best products combine clean design, clear instructions, useful page structure, and a reason to keep using the planner after the first download.
Overview: What You Are Creating
This guide explains how to create a digital planner dividers. The finished product should deliver divider pages that separate major planner sections and give users a clear mental reset between planning areas. Hyperlinked planners are popular because buyers do not want to scroll through hundreds of pages manually. They want tabs, buttons, index pages, and dashboards that make the file feel like an app.
The most important planning step is mapping. Before designing, list every page and decide where each tab, date, icon, and button should go. If you add links too late, it becomes harder to notice missing pages or broken navigation.
Essential Pages and Assets to Include
| Idea / Page | Best Use | Value Add |
|---|---|---|
| Monthly divider | Part of the digital planner dividers workflow. | Keep the page clean, linked, and easy to reuse. |
| Weekly divider | Part of the digital planner dividers workflow. | Keep the page clean, linked, and easy to reuse. |
| Goals divider | Part of the digital planner dividers workflow. | Keep the page clean, linked, and easy to reuse. |
| Finance divider | Part of the digital planner dividers workflow. | Keep the page clean, linked, and easy to reuse. |
| Wellness divider | Part of the digital planner dividers workflow. | Keep the page clean, linked, and easy to reuse. |
| Notes divider | Part of the digital planner dividers workflow. | Keep the page clean, linked, and easy to reuse. |
| Projects divider | Part of the digital planner dividers workflow. | Keep the page clean, linked, and easy to reuse. |
| School divider | Part of the digital planner dividers workflow. | Keep the page clean, linked, and easy to reuse. |
| Business divider | Part of the digital planner dividers workflow. | Keep the page clean, linked, and easy to reuse. |
| Blank divider template | Part of the digital planner dividers workflow. | Keep the page clean, linked, and easy to reuse. |
Beginner Tip
Start with an undated version if you are new. Dated planners require many more links, more testing, and more opportunities for mistakes. Once your layout and navigation work, you can create dated editions for the next year.
Creation Workflow Table
| Stage | Action | Why It Matters |
|---|---|---|
| Step 1 | List planner sections | Do this before moving to the next step so the PDF stays organized. |
| Step 2 | Create one divider style | Do this before moving to the next step so the PDF stays organized. |
| Step 3 | Vary colors or icons | Do this before moving to the next step so the PDF stays organized. |
| Step 4 | Add section description | Do this before moving to the next step so the PDF stays organized. |
| Step 5 | Link divider buttons | Do this before moving to the next step so the PDF stays organized. |
| Step 6 | Duplicate across sections | Do this before moving to the next step so the PDF stays organized. |
| Step 7 | Test navigation paths | Do this before moving to the next step so the PDF stays organized. |
Design and User Experience Tips
A digital planner should look stylish, but the design must support daily use. Choose a limited color palette, repeat the same header style, keep writing zones generous, and avoid placing small links too close together. Tablet users tap with a finger or stylus, so tiny navigation elements can quickly become frustrating.
Make the Planner Easy to Understand
Every digital planner dividers planner should include a short instruction page. Explain how to import the PDF, how to use hyperlinks, where to find tabs, how to duplicate pages if the app allows it, and which pages are optional. Many buyers are beginners, so even simple steps can reduce refund requests and support messages.
Use a Premium Visual System
Use consistent spacing, rounded cards, readable typography, and a calm layout hierarchy. A premium planner does not need excessive decoration. It needs alignment, contrast, and enough white space for handwriting. If you include stickers or covers, make them match the planner so the bundle feels cohesive.
Design for Reuse
Reusable pages increase the life of the product. Add undated versions, blank duplicates, notes pages, and flexible trackers. Buyers appreciate products that can adapt to their routines instead of forcing one strict method.
Creation Workflow: From Idea to Finished Product
1. Define the Promise
Before opening Canva, Keynote, PowerPoint, Affinity, or any design tool, write a one-sentence promise for the product. For example: “This digital planner dividers planner helps the buyer plan the week, track progress, and review what worked.” This promise becomes your filter for every page.
2. Build the Page Map
Create a simple spreadsheet or document with every planned page, section, link destination, and bonus. This prevents broken navigation and helps you avoid duplicate pages. For hyperlinked planners, mapping is essential because every tab and button needs a destination.
3. Design the Core Pages First
Do not start with decorative extras. First design the pages buyers will use most: dashboard, monthly view, weekly view, daily page, notes, trackers, and review pages. Once the core workflow feels strong, add covers, stickers, dividers, and bonus pages.
4. Add Links and Export Correctly
Tools like Canva let you add links to elements and pages. After exporting the PDF, test the file in at least one PDF viewer and the planner apps you mention in the product description. Test month tabs, date links, return buttons, index links, and external resource links.
5. Package the Download
Include the main PDF, a quick-start guide, licensing notes, bonus files, and a help document. Use clear file names such as monthly-planner-goodnotes.pdf and planner-stickers-transparent-png.zip. Clear packaging creates trust before the buyer even opens the planner.
Selling, Bundling, and Monetization Ideas
A digital planner dividers can become a standalone digital product or part of a larger planner bundle. To increase perceived value, include a short tutorial PDF, a testing checklist, alternate covers, sticker sheets, and bonus pages that match the planner’s purpose.
Bundle Ideas
- Hyperlinked planner PDF with quick-start guide.
- Canva-editable planner template for buyers who want customization.
- PNG sticker pack with functional icons and labels.
- Bonus dashboard, notes pages, and printable version.
- Video walkthrough hosted on a course platform such as Teachable.
When writing the product description, explain that it is a digital download, list compatible apps, mention that hyperlinks are part of the PDF, and provide clear import instructions.
Useful Resources for Digital Product Creators
Explore Our Powerful Digital Products Bundle
Browse these high-value bundles for website creators, developers, designers, startups, content creators, and digital product sellers. If you want to build planners, templates, worksheets, dashboards, printables, or bonus packs faster, a ready-made bundle can help you study product structure, design systems, file organization, and bundle presentation.
Explore Our Powerful Digital Products Bundle
Zee Sharp Productivity Tools Hub
Zee Sharp is a growing suite of free online tools for productivity, development, and creativity. No sign-up. No watermarks. Just tools. It is useful when you need quick helper utilities while preparing planner copy, file names, captions, descriptions, or launch checklists.
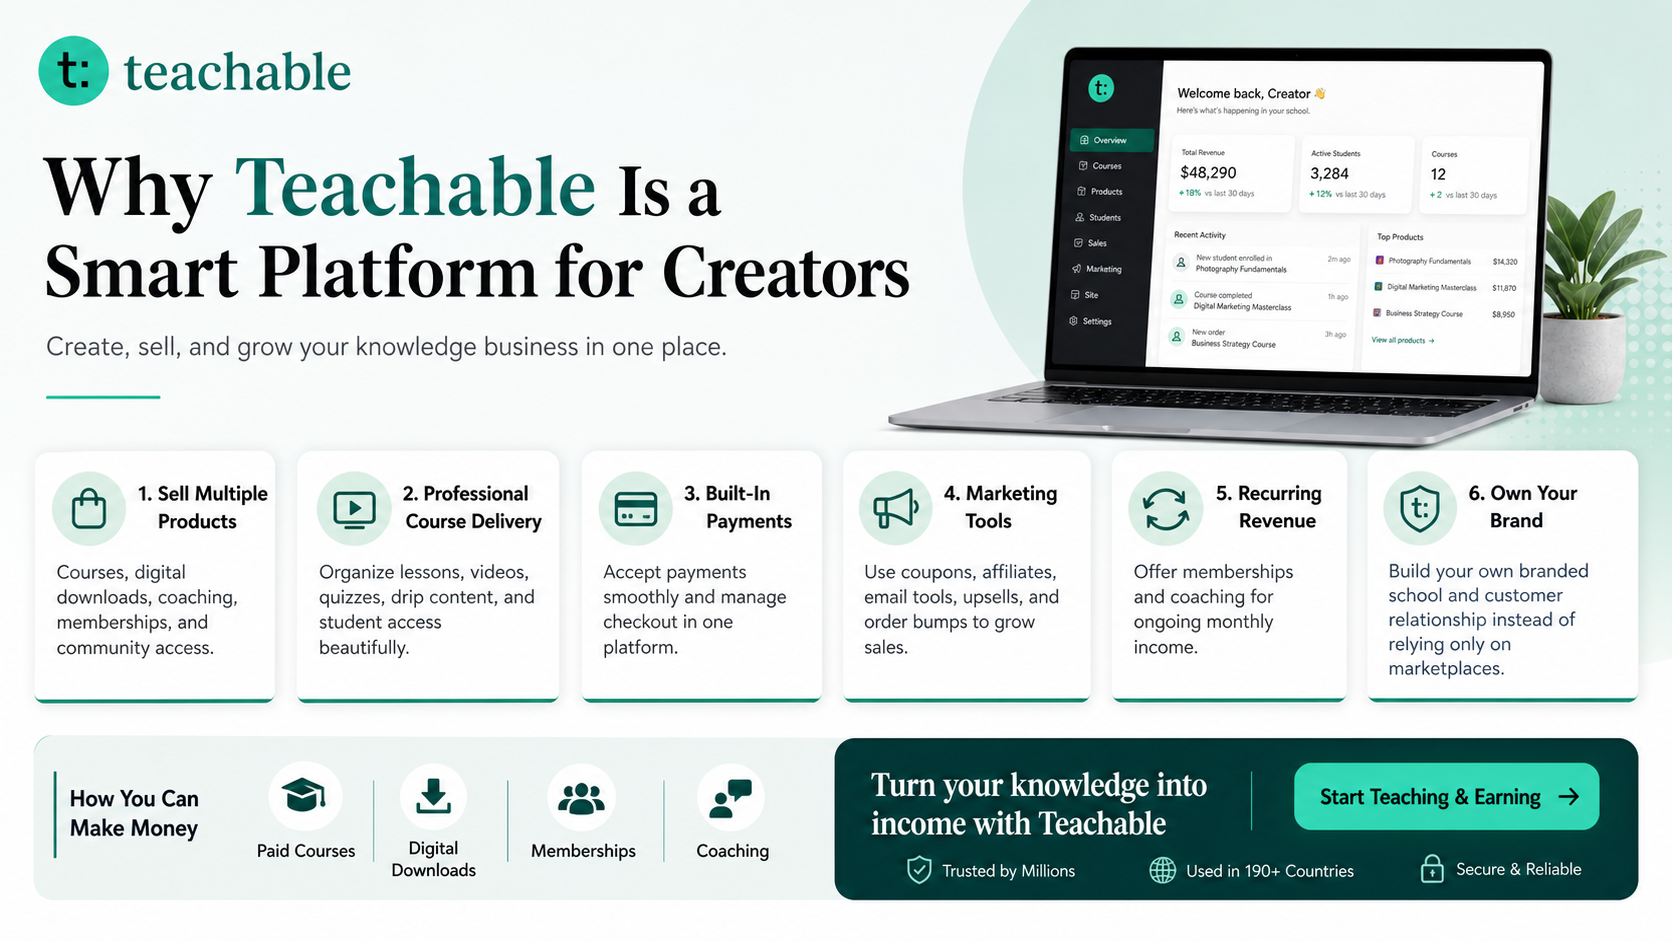
Creator Monetization Resource: Try Teachable
Teachable is an online platform that lets creators build, market, and sell courses, digital downloads, coaching, and memberships. It helps educators and entrepreneurs turn their knowledge into a branded digital business without needing complex coding. If your digital planner dividers product teaches a repeatable system, you can turn the same knowledge into a mini-course, workbook, digital download, or coaching offer.
Learn more on SenseCentral: How to Make Money with Teachable: A Complete Creator’s Guide
Further Reading on SenseCentral
Use these related SenseCentral resources to plan product structure, improve Etsy visibility, and turn planner knowledge into a broader digital business.
- How to Create a Monthly Reset Planner
- How to Turn a Course Outline into a Digital Product
- Etsy Keyword Research Using Search Suggestions
- Etsy Keyword Research Without Paid Tools
- Etsy SEO Mistakes Digital Product Sellers Make
- How to Make Money with Teachable: A Complete Creator’s Guide
- SenseCentral Digital Products Hub
FAQs
Can I sell a digital planner dividers planner on Etsy?
Yes. You can sell original digital planner PDFs, printable journals, Canva templates, sticker packs, and related downloads if you own the design rights and explain clearly that it is a digital product.
Should I make the planner dated or undated?
Undated planners are easier to sell year-round, while dated planners can feel more premium and timely. Many creators offer both: an undated evergreen version and a dated yearly version.
Do hyperlinks work in GoodNotes and Notability?
Hyperlinks are part of the PDF file. Goodnotes provides guidance for navigating PDF hyperlinks, and Notability supports importing PDFs for annotation. Always test your final export in the apps you mention in your listing.
What file format should I deliver?
A PDF is the main delivery format for digital planners. If you include editable templates, you can also provide Canva template links, PNG stickers, JPG covers, and a simple instruction PDF.
How can I make the product feel more valuable?
Add a quick-start guide, example page, sticker sheet, alternate covers, bonus trackers, realistic mockups, and a clear use case. Value comes from the result the buyer can achieve, not just the number of pages.
Key Takeaways
- Start digital planner dividers with a clear buyer promise before choosing colors or decorations.
- Use hyperlinks, tabs, dashboards, and index pages only when they reduce friction for the user.
- Add instructions, example entries, and a quick-start page so beginners know how to use the product.
- Bundle the planner with stickers, covers, bonus pages, and a short tutorial to increase perceived value.
- Test the final PDF in the apps your buyers are most likely to use before publishing.

