

How to Turn One Printable into a Content Cluster
If you create or review printable products, you do not need to start from zero every time you publish a blog post, Pinterest pin, email, or tutorial. The smartest digital product websites turn one strong product idea into a repeatable content repurposing system: one buyer problem, several supporting articles, clear internal links, and helpful product recommendations.
This guide is written for buyers, creators, and small digital product sellers. It shows how to convert product knowledge into attractive content that can rank, educate buyers, support affiliate offers, and send warmer traffic to your own digital product resources. Use it as a practical blueprint for SenseCentral-style product comparisons, tutorials, buyer guides, and promotional content.
Table of Contents
Key Takeaways
- Start with one clear buyer problem around printable products, then expand it into tutorials, comparisons, checklists, and promotional content.
- A strong content repurposing system should connect search intent, buyer education, Pinterest visuals, email follow-up, and product offers.
- Use internal links to move readers from broad guides to specific tutorials and from tutorials to relevant product bundles.
- Every post should include a helpful table, examples, FAQs, and a simple next step so readers do not leave confused.
- Affiliate links work best when they are framed as useful resources, not random banners.
Why This Strategy Works
Content repurposing helps you extract more traffic and trust from a product you already researched, designed, reviewed, or sell. For a digital product blog, this matters because the buyer journey is rarely one click. A person may first search for ideas, then compare formats, then ask whether the product is editable, printable, beginner-friendly, or worth the price. If your site has only one product page, you miss many of those earlier searches.
With printable products, the best content plan usually has three layers. The first layer is an educational pillar post that explains the problem and gives a complete overview. The second layer is a set of supporting posts that answer narrower questions. The third layer is conversion content: templates, bundles, tutorials, coupons, email sequences, and resource pages that help the reader take action.
Simple rule: one product should become one mini media asset. That asset can include blog posts, pins, email topics, comparison tables, FAQs, short tutorials, and buyer guides.
This approach also makes your writing feel more helpful. Instead of repeating the same product description in every post, you can create a pathway: inspiration first, education second, comparison third, and recommendation last. That is how a review and comparison website can publish more content without becoming thin or repetitive.
Step-by-Step Framework
Use this framework whenever you want to turn printable products into a stronger content repurposing system. It is simple enough for a new blog, but structured enough for a large content library.
- Define the core buyer problem: Write one sentence describing why someone needs printable products. Example: “I need a faster way to plan my week without designing pages from scratch.”
- List buyer questions: Collect questions about format, customization, printing, Canva access, GoodNotes use, commercial rights, pricing, and outcomes.
- Separate content by intent: Group ideas into inspiration, tutorial, comparison, troubleshooting, and product recommendation posts.
- Create a pillar page: Write a broad guide that introduces printable products, explains use cases, and links to every supporting article.
- Build supporting articles: Publish smaller posts that go deep into one question, one audience, one season, or one platform.
- Add conversion paths: Place useful resource blocks, bundle links, Teachable links, email opt-ins, or free tools where they naturally help the reader.
- Refresh and expand: Update titles, tables, FAQs, screenshots, and links as your product library grows.
Step 1: Build a Buyer Question Bank
Before writing, open a blank document and list every question a buyer might ask before clicking, downloading, printing, editing, or buying. For printable products, questions may include: “Is this editable?”, “Can I use it in Canva?”, “Will it work on mobile?”, “What size is included?”, “Can I resell the finished design?”, “How do I print it?”, and “What makes the bundle better than buying one item?” These questions are not small details. They are blog topics.
Step 2: Match Each Question to a Page Type
Not every question deserves the same style of post. A broad question may need a 2,000-word pillar guide. A practical question may need a tutorial. A buying question may need a comparison table. A visual question may become a Pinterest pin or YouTube short. This is how you avoid forcing every keyword into the same article format.
Step 3: Create a Clear Next Click
Every post should end with a next action. That action can be reading a related SenseCentral guide, exploring a digital product bundle, trying a creator platform, visiting a free tools hub, or joining an email list. The next click should feel helpful, not aggressive.
Content Map and Comparison Table
The table below gives you a practical way to decide which content asset to create first. Start with the asset that matches the reader’s current intent, then link forward to the next logical step.
| Content Asset | Best Use | Main Goal | Execution Tip |
|---|---|---|---|
| Awareness post | Explain the problem behind printable products | New readers | Use simple examples |
| Tutorial post | Teach one practical workflow | Engaged readers | Add steps and screenshots |
| Comparison post | Compare options, tools, or formats | Buyer research | Add a summary table |
| Promotion post | Connect the content to a useful product | Conversions | Use honest affiliate disclosure |
Practical Ideas You Can Use
Here are ready-to-adapt ideas for this topic. You can use them as blog sections, individual posts, Pinterest pin titles, email subject lines, or product education snippets.
- Problem guide for printable products: Use this idea to attract readers who are still exploring printable products and need a simple starting point.
- Step-by-step tutorial for printable products: Turn this into a tutorial by showing the input, the finished result, and the mistake to avoid.
- Comparison guide for printable products: Add a product recommendation only after you explain who the resource is best for.
- Buyer checklist for printable products: Make the headline specific, visual, and benefit-driven so it can work as a blog title and a Pinterest pin title.
- Pinterest campaign for printable products: Add screenshots, mockups, or a mini checklist to increase trust.
- Email campaign for printable products: Use this idea to attract readers who are still exploring printable products and need a simple starting point.
- SEO cluster for printable products: Turn this into a tutorial by showing the input, the finished result, and the mistake to avoid.
- Bundle strategy for printable products: Add a product recommendation only after you explain who the resource is best for.
- FAQ post for printable products: Make the headline specific, visual, and benefit-driven so it can work as a blog title and a Pinterest pin title.
- Case study post for printable products: Add screenshots, mockups, or a mini checklist to increase trust.
How to Make These Ideas Feel Original
The easiest way to make a content idea unique is to add a buyer, a situation, and a measurable outcome. Instead of writing “Best printable products,” write “Best printable products for beginners who want a faster setup.” Instead of “How to use printable products,” write “How to use printable products in 20 minutes without redesigning everything.” Specificity makes content more useful and easier to promote.
You can also add examples from your own product library. Show what a page looks like, explain why a layout works, compare a beginner-friendly option with an advanced option, or provide a small checklist readers can save. These additions turn a basic article into a more valuable buyer guide.
SEO and Internal Linking Tips
For printable products, SEO is not only about adding keywords. It is about creating a structure that helps readers and search engines understand which page is the main guide, which pages are supporting tutorials, and which pages help with buying decisions.
Recommended Internal Link Structure
- Link from the broad pillar guide to every supporting tutorial and comparison post.
- Link from supporting posts back to the pillar guide using natural anchor text.
- Link sideways between related posts when the reader may need the next step.
- Link to product resources only where the reader has enough context to appreciate the offer.
Further Reading on SenseCentral
- SenseCentral home page
- How to Make Money with Teachable: A Complete Creator’s Guide
- How to Turn One Canva Template into a Blog Tutorial
- How to Create SEO Silos for Printable Content
- Blog Topic Cluster Ideas for Digital Planners
Keyword Placement Checklist
| Page Area | What to Add | Why It Helps |
|---|---|---|
| Title and H1 | Main keyword and clear benefit | Clarifies search intent quickly |
| Intro | Problem, audience, and product type | Shows relevance immediately |
| H2 headings | Subtopics such as examples, tutorial, comparison, FAQ | Makes the article easier to scan |
| Image alt text | Plain description of the visual and topic | Improves accessibility and image context |
| Internal links | Natural anchors to related guides | Helps readers move through the content cluster |
Promotion Workflow
After publishing the article, repurpose it into Pinterest pins, a short email, a product description upgrade, and a small checklist. The goal is not to spam the same headline everywhere. The goal is to show the same useful idea in different formats.
Simple 7-Day Promotion Plan
| Day | Action | Purpose |
|---|---|---|
| Day 1 | Publish the blog post and check all internal links | Make the page crawlable and useful |
| Day 2 | Create two Pinterest pins from the key takeaway section | Start visual discovery |
| Day 3 | Send a short email teaching one quick tip | Build trust with subscribers |
| Day 4 | Update a related product page or Etsy description with one FAQ | Reduce buyer hesitation |
| Day 5 | Create a comparison graphic from the table | Make the article easier to share |
| Day 6 | Add links from older related posts | Strengthen the content cluster |
| Day 7 | Review clicks and saves, then create one more supporting article | Expand what is already working |
When promoting printable products, keep the reader’s stage in mind. A beginner needs clarity. A comparison shopper needs proof. A repeat buyer needs a faster path to the resource. Your content should help each person move one step forward.
Useful Resources for Digital Product Sellers
Affiliate disclosure: This post may contain affiliate links. If you buy through these links, SenseCentral may earn a commission at no extra cost to you. We only highlight tools and resources that fit digital product creators, website creators, designers, startups, and content sellers.
Explore Our Powerful Digital Products Bundle
Browse these high-value bundles for website creators, developers, designers, startups, content creators, and digital product sellers. They are useful when you want ready-made assets for blog graphics, templates, mockups, digital downloads, and launch materials.
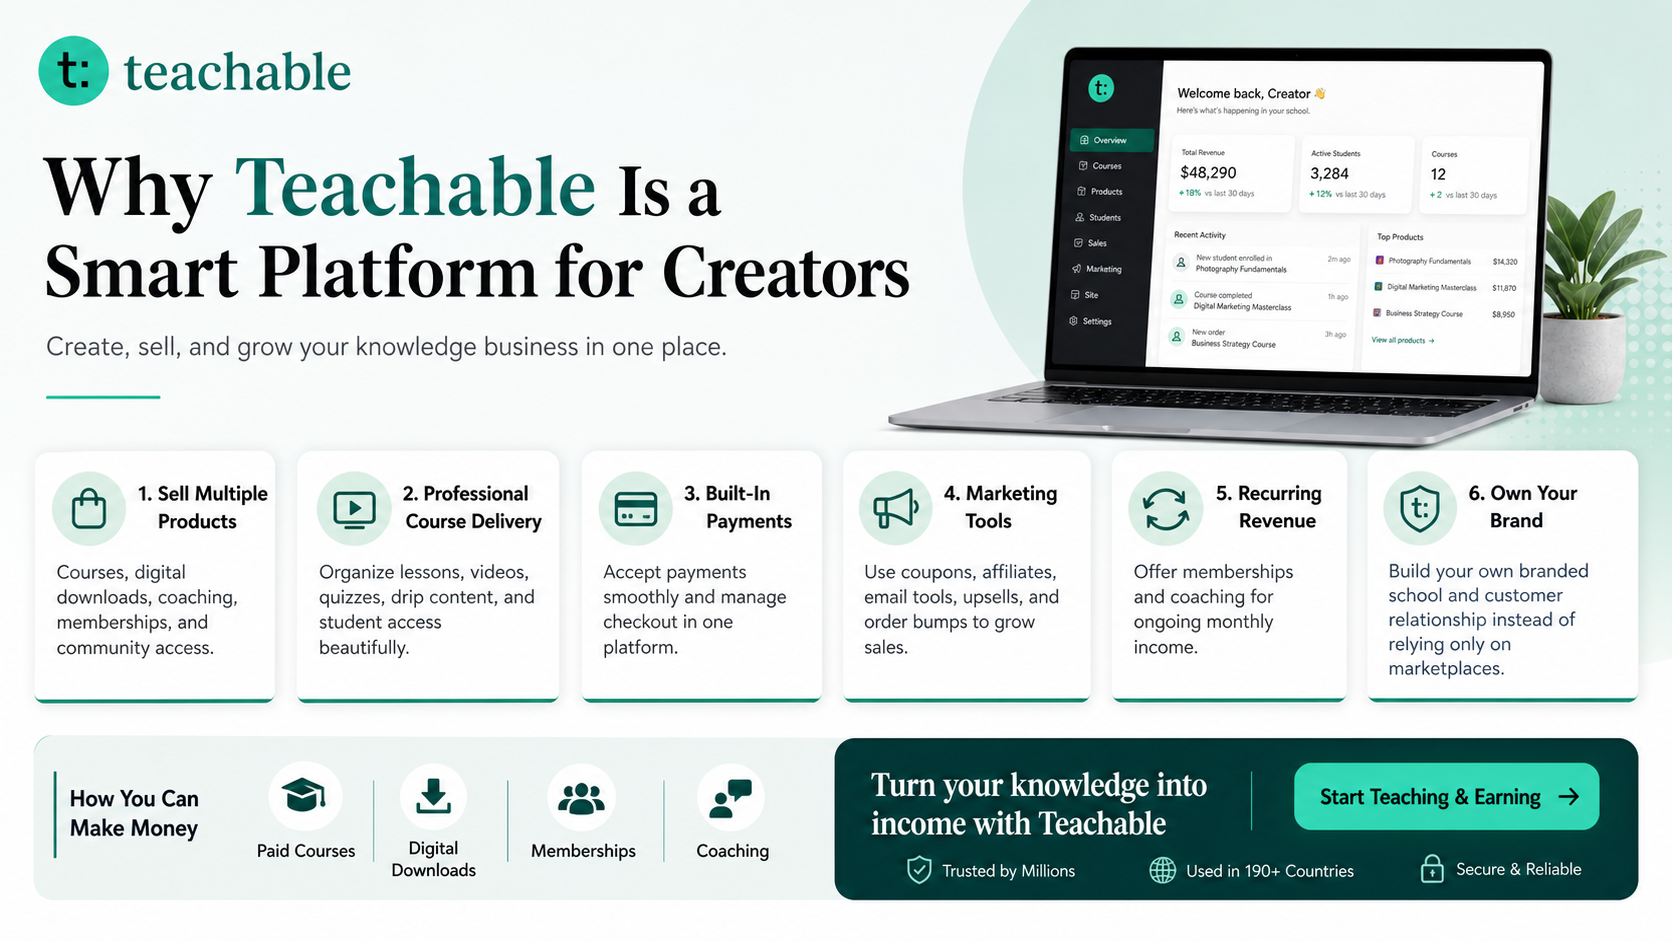
Turn Your Knowledge into a Product with Teachable
Teachable is an online platform that lets creators build, market, and sell courses, digital downloads, coaching, and memberships. It helps educators and entrepreneurs turn their knowledge into a branded digital business without needing complex coding.
How to Make Money with Teachable: A Complete Creator’s Guide
Watch: How to Create a Course with Teachable
Free Productivity Tools: Zee Sharp
Zee Sharp is a growing suite of free online tools for productivity, development, and creativity. No sign-up. No watermarks. Just tools.
FAQs
How many posts can I create from one printable products idea?
A strong printable products idea can often support 5 to 15 useful assets: a pillar guide, tutorials, comparisons, FAQs, Pinterest pins, emails, and product education pages. The key is to make each asset answer a different reader question.
Should I publish the pillar guide or supporting posts first?
If your site is new, publish the pillar guide first so you have a central page to link to. Then add supporting posts one by one and update the pillar page with fresh links.
Can I include affiliate links in these posts?
Yes, but they should be relevant, disclosed, and placed where they genuinely help the reader. Use clear labels, useful explanations, and appropriate sponsored or nofollow attributes.
What makes a content cluster better than random blog posts?
A cluster builds topical depth. Instead of publishing disconnected articles, you create a path where each post supports the main topic and links to related answers.
How often should I update this type of post?
Review it every 3 to 6 months, especially if product links, platform rules, screenshots, prices, or seasonal examples change.
Do I need Pinterest and email if I already use SEO?
SEO can bring long-term discovery, Pinterest can bring visual discovery, and email can bring repeat attention. Using all three gives your digital product content more than one traffic path.
References and Further Reading
- Google Search Central SEO Starter Guide
- Google Search Central Link Best Practices
- Etsy Seller Handbook
- Etsy Help: How to Manage Your Digital Listings
- Pinterest Business
- Teachable: Build and Sell Online Courses, Coaching, Digital Products, and Memberships
- Teachable Digital Downloads
- SenseCentral: How to Make Money with Teachable: A Complete Creator’s Guide
Editorial note: Use these references to understand search, internal linking, Etsy digital products, Pinterest marketing, and creator monetization. Always confirm platform rules and affiliate terms before publishing promotional content.
