
🎉
How to Create an Event Timeline Workbook
A complete SenseCentral guide to planning, designing, packaging, and promoting a practical digital product buyers can use immediately.
- Why a How to Create an Event Timeline Workbook Matters
- Core Pages to Include
- How to Structure the Workbook
- Comparison Table: Best Ways to Package a How to Create an Event Timeline Workbook
- Design and Formatting Tips
- Pricing and Packaging Ideas
- Useful Resource: Explore Our Powerful Digital Products Bundle
- Free Tool Hub: Zee Sharp
- Creator Platform Recommendation: Teachable
- How to Promote This Product
- Common Mistakes to Avoid
- Key Takeaways
- FAQs
- How many pages should a how to create an event timeline workbook include?
- Should I create the product as a PDF, Canva template, or both?
- Can this type of workbook sell on Etsy?
- How can I make the workbook look premium?
- How do I promote affiliate links inside the post?
- Further Readings and References
Affiliate disclosure: Some links in this post are affiliate or promotional links. SenseCentral may earn a commission if you buy through them, at no extra cost to you.
Creating a how to create an event timeline workbook is not only about designing pretty pages. The best workbook becomes a small operating system for the buyer: it helps them decide what matters, plan the next step, track progress, avoid missed details, and return to the same process again later. For SenseCentral readers who review and compare digital products, this matters because a planner is more useful when it solves a clear problem instead of simply collecting random printable pages.
In this guide, you will learn how to plan, structure, design, package, and promote a how to create an event timeline workbook that feels complete, practical, and easy to use. The framework is especially helpful if you want to create printable products, Canva templates, digital downloads, Etsy resources, lead magnets, or premium bundle items. You can use the same method whether you are building a simple five-page starter printable or a polished 60-page workbook for a niche audience.
Why a How to Create an Event Timeline Workbook Matters
A how to create an event timeline workbook becomes valuable when it gives the buyer a clear path from confusion to action. Many digital products fail because they look attractive but do not help the user make decisions. A stronger product starts with the buyer’s real situation: they are busy, unsure what to do first, and looking for a page that organizes the next step.
For hosts, families, party planners, printable sellers, and small event brands, the goal is to create a calm, guest-friendly planning system that moves from vision to budget, vendors, timeline, setup, and post-event follow-up. When the product does that well, it can reduce last-minute stress, control costs, organize supplies, and create a repeatable event workflow. This is also why workbook-style products often feel more premium than simple single-page printables. They create a journey. The buyer opens the file, follows the sequence, and feels guided from start to finish.
Before designing anything, write a one-sentence promise for the product. For example: “This workbook helps the buyer plan, track, and complete the entire process without forgetting important details.” That promise will shape the sections, page order, page titles, and marketing copy. It will also stop the product from becoming a random collection of pages.
Core Pages to Include
The easiest way to build a useful how to create an event timeline workbook is to divide the product into planning pages, action pages, tracking pages, and review pages. This gives the workbook a natural rhythm: think, decide, do, and improve. Below are strong page ideas you can include or adapt.
- Event vision page: use this page to capture the details buyers usually forget and turn them into small decisions.
- Guest list tracker: use this page to capture the details buyers usually forget and turn them into small decisions.
- Budget worksheet: use this page to capture the details buyers usually forget and turn them into small decisions.
- Vendor contact sheet: use this page to capture the details buyers usually forget and turn them into small decisions.
- Menu planner: use this page to capture the details buyers usually forget and turn them into small decisions.
- Decoration inventory: use this page to capture the details buyers usually forget and turn them into small decisions.
- Timeline checklist: use this page to capture the details buyers usually forget and turn them into small decisions.
- Shopping list: use this page to capture the details buyers usually forget and turn them into small decisions.
- Setup map: use this page to capture the details buyers usually forget and turn them into small decisions.
- Thank-you tracker: use this page to capture the details buyers usually forget and turn them into small decisions.
Recommended dashboard metrics
Add a simple dashboard so the buyer can see progress at a glance. Useful metrics for this topic include total budget, guest count, RSVP rate, vendor deadlines, shopping status, setup time. You do not need complex formulas. A small tracker with checkboxes, status labels, and note fields is usually enough for printable and Canva-based products.
How to Structure the Workbook
A strong structure makes the product feel professional even before the buyer fills in the first page. Start with a short welcome page that explains who the workbook is for, what outcome it supports, and how to use it. Then add a quick-start page so the buyer can begin without reading a long manual.
Use a five-part flow
- Start: define the goal, situation, deadline, or buyer intention.
- Map: collect the important details, constraints, resources, and choices.
- Plan: convert the details into steps, pages, lists, and schedules.
- Track: give the buyer a way to monitor progress and avoid forgotten tasks.
- Review: help the buyer reflect on what worked and what should improve next time.
For a how to create an event timeline workbook, useful fields may include theme, guest count, budget, venue, food, decorations, music, games, timeline, setup crew, cleanup, and thank-you notes. Keep page titles clear and action-oriented. Instead of “Notes,” use “Important Notes Before You Start.” Instead of “Tasks,” use “Next Actions to Complete This Week.” Small wording changes make the product feel more guided.
Make the product beginner-friendly
Do not assume the buyer already knows your process. Add examples, mini instructions, icons, and placeholder text. If a page asks the buyer to compare options, show one sample row. If a page asks for a budget, add common expense categories. If a page asks for keywords or content ideas, add prompts that help the buyer start.
Comparison Table: Best Ways to Package a How to Create an Event Timeline Workbook
| Format | What to include | Best for | Why it adds value |
|---|---|---|---|
| Starter planner | 5–12 pages | Small parties, birthdays, quick family events | Easy to finish, low overwhelm, good freebie or entry product |
| Complete workbook | 25–60 pages | Baby showers, bridal showers, holiday parties, client events | Better perceived value and more room for checklists |
| Printable bundle | 40+ pages plus signs/cards | Etsy buyers and party hosts who want ready-to-print assets | Great for upsells, seasonal packs, and themed designs |
| Canva editable kit | Templates plus planner pages | Hosts who want to customize colors, text, and details | Higher flexibility and better premium positioning |
Design and Formatting Tips
Good design is not only about decoration. It is about readability, printing comfort, and fast decision-making. Use one font for headings, one font for body text, and no more than two accent colors. Leave enough white space for handwriting if the product is printable. If the product is editable in Canva, lock background elements and keep text boxes easy to replace.
Recommended design rules
- Use consistent margins so pages look clean when printed or used as PDFs.
- Group related fields together instead of scattering small boxes across the page.
- Add icons only when they help scanning; avoid icons that make the page look crowded.
- Create both US Letter and A4 versions if your audience is international.
- Include a simple instruction page with printing tips, editing notes, and file-use guidance.
For a premium how to create an event timeline workbook, consider adding divider pages, cover options, a neutral color version, a colorful version, and a minimal ink-friendly version. This makes the same workbook useful to more buyers without changing the core content.
Pricing and Packaging Ideas
Price depends on the buyer outcome, page count, design quality, niche demand, and whether the product includes editable templates. A single simple worksheet should not be priced like a complete workbook. A complete how to create an event timeline workbook can command more because it saves time and gives the buyer a system.
- Starter version: $3–$7, useful for quick printables, lead magnets, or entry products.
- Complete workbook: $8–$19, useful for a polished PDF or Canva template with multiple sections.
- Premium bundle: $20–$39+, useful when you include multiple formats, bonuses, covers, instructions, and related templates.
Packaging matters. Include a clear file list, mockup images, “what’s included” section, and a small FAQ page inside the download. For Etsy and digital product shops, buyers need to understand exactly what they receive before they purchase. If your product is editable, explain whether it requires a free Canva account, a paid Canva feature, or no software beyond a PDF reader.
You can also create product tiers. The basic tier can include the workbook PDF, the mid tier can include editable Canva pages, and the premium tier can include bonuses such as checklists, swipe files, labels, or a mini training guide. This makes the product easier to compare and can improve average order value.
Useful Resource: Explore Our Powerful Digital Products Bundle
Browse high-value bundles for website creators, developers, designers, startups, content creators, and digital product sellers. These bundles can help you build faster, test product ideas, and create more useful digital resources for your audience.
Free Tool Hub: Zee Sharp
Zee Sharp is a growing suite of free online tools for productivity, development, and creativity. No sign-up. No watermarks. Just tools. Use it when you need quick calculators, converters, writing utilities, developer helpers, or productivity tools while building digital products.
Affiliate disclosure: This post may contain affiliate links. If you click and purchase through a partner link, SenseCentral may earn a commission at no extra cost to you.
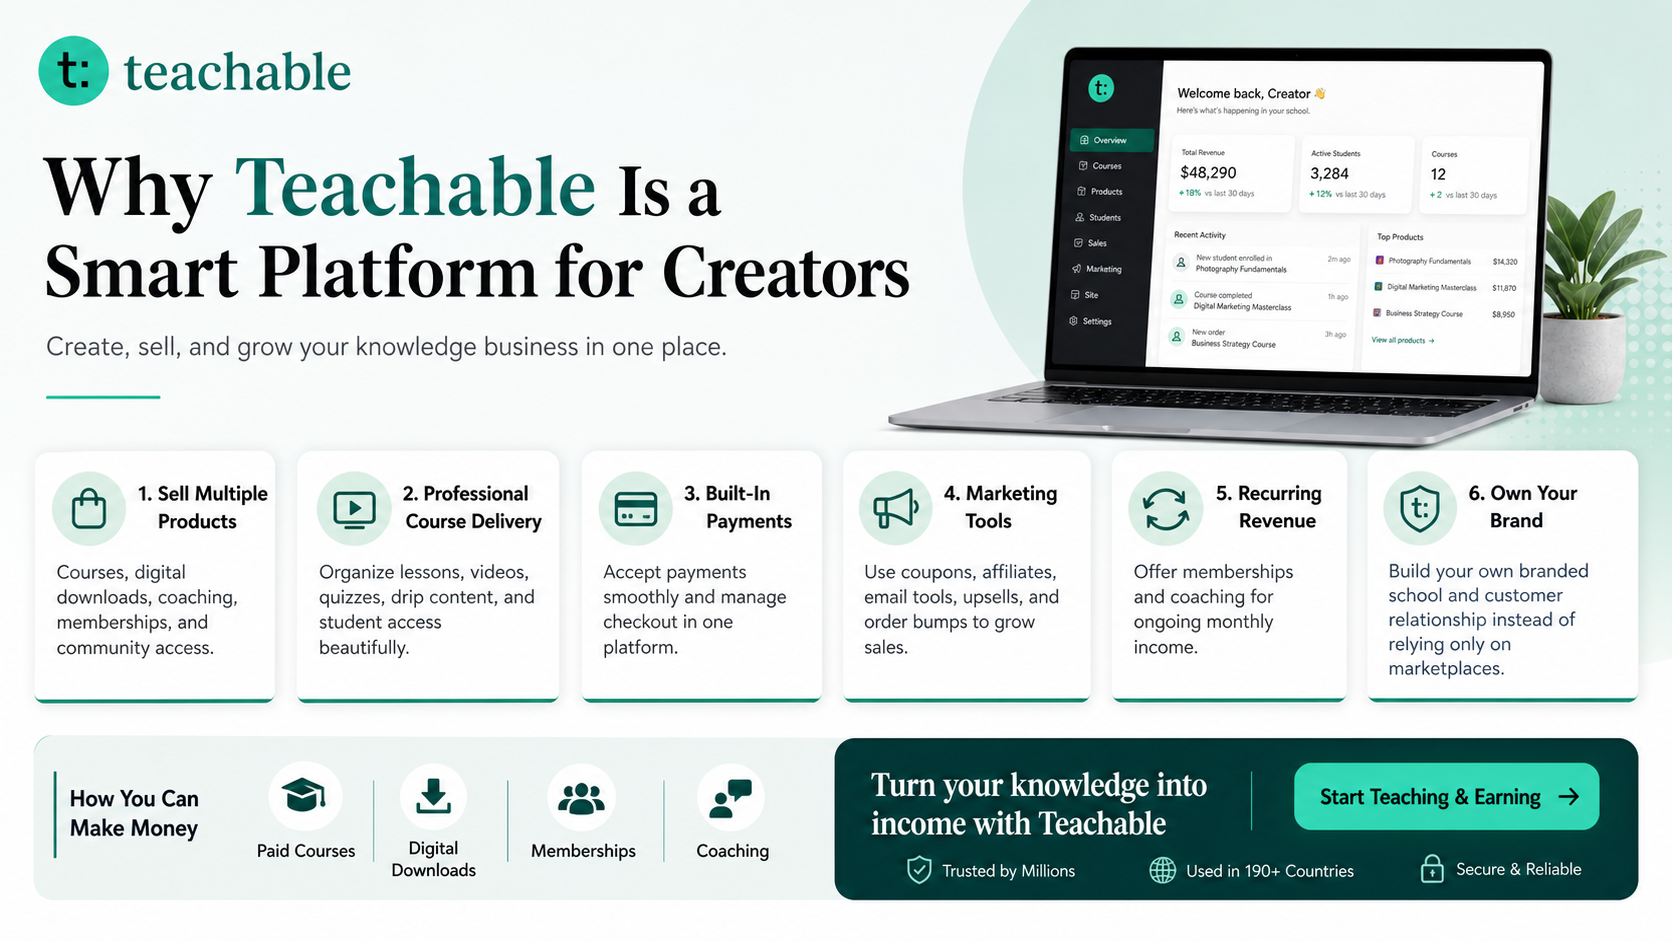
Creator Platform Recommendation: Teachable
Teachable is an online platform that lets creators build, market, and sell courses, digital downloads, coaching, and memberships. It helps educators and entrepreneurs turn their knowledge into a branded digital business without needing complex coding.
Learn more: How to Make Money with Teachable: A Complete Creator’s Guide
How to Promote This Product
A how to create an event timeline workbook is easiest to promote when you connect it to a real buyer problem. Do not only say “download this planner.” Say what it helps the buyer avoid, finish, organize, or improve. Use before-and-after messaging: before the workbook, the buyer has scattered notes; after the workbook, the buyer has a clear plan.
Promotion channels
- Blog posts: write tutorials, examples, comparison posts, and checklist articles around the buyer problem.
- Pinterest: create pins showing mockups, page previews, checklist snippets, and use-case images.
- Email marketing: offer a free sample page, then introduce the full workbook in a short email sequence.
- Etsy listings: use clear mockups, searchable titles, benefit-focused descriptions, and FAQ answers.
- Courses and downloads: turn the product into a bonus, module worksheet, or paid digital download on a creator platform.
This product can also pair well with party printables, event binders, Canva invitation kits, checklist bundles, and client-ready planning workbooks. When you create related products, connect them through internal links, bundle offers, and “next step” recommendations.
Common Mistakes to Avoid
The first mistake is creating too many pages without a clear sequence. More pages can increase perceived value, but only if every page has a reason to exist. A 20-page workbook with a tight flow is usually better than a 70-page bundle full of duplicated notes pages.
The second mistake is ignoring the buyer’s environment. Some buyers print pages at home, some use tablets, some edit in Canva, and some only want a quick PDF. Make the format clear and include usage instructions. If you offer multiple formats, name the files clearly so the buyer is not confused after download.
The third mistake is weak product photography. A digital product still needs visual selling. Show the cover, inside pages, page count, file types, benefits, and use cases. A buyer should understand the product in under ten seconds. Add a “no physical product will be shipped” notice for digital downloads.
The fourth mistake is forgetting affiliate and promotional disclosures. If you recommend tools, platforms, or paid resources, place a clear disclosure before the links. Transparent recommendations build trust and help your review-style content feel professional.
Key Takeaways
- A strong how to create an event timeline workbook should guide the buyer through a clear process, not just offer blank pages.
- Use sections for planning, action, tracking, and review so the product feels complete.
- Add buyer-friendly examples, simple instructions, and clear file-use notes.
- Package the product with mockups, FAQs, bonuses, and format options to increase perceived value.
- Promote the workbook through blog content, Pinterest, email, Etsy listings, and related digital product bundles.
FAQs
How many pages should a how to create an event timeline workbook include?
A useful starter product can be 5 to 12 pages, while a complete workbook can be 25 to 60 pages or more. Page count matters less than flow. Every page should help the buyer make a decision, complete a task, track progress, or review results.
Should I create the product as a PDF, Canva template, or both?
PDF is best for simple printable use. Canva is best when buyers want to edit text, colors, or branding. Offering both can increase value, but only if you include clear instructions and organized file links.
Can this type of workbook sell on Etsy?
Yes, if it solves a clear buyer problem, has strong mockups, uses searchable keywords, and clearly explains what is included. Etsy buyers need to know file type, page size, editing requirements, and whether the item is digital only.
How can I make the workbook look premium?
Use consistent layouts, professional spacing, cover options, divider pages, examples, and a clean instruction guide. Premium design is often about clarity and ease of use rather than complicated decoration.
How do I promote affiliate links inside the post?
Add a clear affiliate disclosure before promotional links, use helpful context, and recommend tools only when they genuinely support the reader’s goal. Buttons, comparison boxes, and resource sections can make links visible without making the post feel spammy.
Further Readings and References
Internal links from SenseCentral
- How to Create a Party Planner Workbook
- How to Create a Birthday Party Planner
- How to Create a Baby Shower Planner
- How to Make Money with Teachable: A Complete Creator’s Guide
- Visit SenseCentral for more product comparison and digital product guides
Useful external references
- Etsy Seller Handbook
- Etsy Help: Managing Digital Listings
- Canva Help: Use Templates
- Teachable Digital Downloads
- FTC Disclosures 101
Editorial note: This SenseCentral article is created for informational and educational purposes. Always check platform rules, affiliate terms, and marketplace policies before publishing or selling digital products.
