
Printable Party Planning Binder Ideas
A party planning binder can help hosts plan a celebration without losing track of food, decor, guest details, shopping tasks, and last-minute setup jobs. Party planning becomes stressful when ideas live in different messages, screenshots, notebooks, and shopping carts. A printable system brings everything into one physical place so the host can quickly see what is done, what is pending, and what still needs a decision.
This guide shares practical, stylish, and product-ready ideas for creating a Party Planning Binder. You can use these ideas to make your own printable for personal organization, build a digital download for an Etsy shop, design a lead magnet for a blog, or create a bonus worksheet for a course or membership. The goal is to make the printable useful enough that someone can open it, understand it quickly, and take action without needing a long tutorial.
Best fit: parents, hosts, party planners, teachers, community organizers, and printable sellers.
Main purpose: turning a busy celebration into a simple step-by-step system.
Design feel: festive, organized, family-friendly, and easy to reuse.
Why This Printable Works
A strong printable does more than decorate a page. It creates a small system. The user should know where to start, what to write, how to review the information, and what action to take next. That is why the best printable pages usually combine prompts, checkboxes, examples, visual grouping, and enough blank space for real notes.
The Party Planning Binder idea works well because it solves a familiar organization problem. People often know what they want to do, but they do not always have a simple place to collect the details. A printable gives the user a visible planning surface. It can be placed in a binder, clipped to a fridge, used inside a clipboard, added to a planning board, or printed again whenever the same task repeats.
For digital product sellers, this topic also has product potential because it can be turned into a single worksheet, a themed bundle, a Canva template, a printable planner insert, or a companion page for a course. The more specific the page is, the easier it becomes to market. A general planner can feel vague, but a focused printable with a clear promise feels useful immediately.
Core Page Ideas and Layout Sections
Start with the outcome. Ask what the user needs to complete, remember, compare, track, or decide. Then build the page around that action. Below are practical sections you can include in a printable based on this topic.
| Printable Section | Why It Adds Value | Priority | Layout Tip |
|---|---|---|---|
| Party Vision Page | Helps users organize party vision page without guessing what to write next. | High | Add checkboxes, short notes, and one clear instruction line for party vision page. |
| Date And Venue Plan | Helps users organize date and venue plan without guessing what to write next. | High | Add checkboxes, short notes, and one clear instruction line for date and venue plan. |
| Guest List | Helps users organize guest list without guessing what to write next. | Medium | Add checkboxes, short notes, and one clear instruction line for guest list. |
| Rsvp Tracker | Helps users organize RSVP tracker without guessing what to write next. | High | Add checkboxes, short notes, and one clear instruction line for RSVP tracker. |
| Theme Board | Helps users organize theme board without guessing what to write next. | Medium | Add checkboxes, short notes, and one clear instruction line for theme board. |
| Decoration Checklist | Helps users organize decoration checklist without guessing what to write next. | Medium | Add checkboxes, short notes, and one clear instruction line for decoration checklist. |
| Food Planner | Helps users organize food planner without guessing what to write next. | Optional | Add checkboxes, short notes, and one clear instruction line for food planner. |
| Budget Page | Helps users organize budget page without guessing what to write next. | Optional | Add checkboxes, short notes, and one clear instruction line for budget page. |
1. Start With a Clear Cover or Header
Every printable should begin with a simple title area. The header should state exactly what the page helps with, such as “Plan your supplies,” “Track your weekly mood,” or “Compare your competitors.” Add a subtitle only when it clarifies the task. If the printable is part of a bundle, include a cover page and matching divider pages so the product feels organized from the first page.
2. Add Guided Prompts Instead of Blank Boxes
Blank space is useful, but too much blank space can make a worksheet feel unfinished. Guided prompts help users start faster. For example, instead of a box labeled “Notes,” use prompts such as “What needs to happen first?”, “What is the biggest risk?”, “What can be simplified?”, or “What should I review next week?” Prompts make the page feel thoughtful and beginner-friendly.
3. Use Trackers for Repeat Actions
Trackers are valuable when the user will repeat an action over days, weeks, or months. A tracker might include checkboxes, dates, short rating scales, status labels, or before-and-after notes. In a printable product, trackers also increase perceived value because users can print the page again and again.
4. Include Decision Sections
Many printable topics become more useful when they help the user choose between options. Add comparison columns, scoring rows, priority levels, “yes/no” checks, or a final decision box. A printable that helps someone decide is more powerful than one that only asks them to list information.
Design Tips for a Stylish Printable
For party printables, the design should feel cheerful but not chaotic. Use bold headings, generous checkboxes, clear zones for shopping lists, and playful accents that match the theme. Parents and hosts often use these pages while multitasking, so readability matters more than decoration. Add a mini instruction at the top of each page and keep the main writing space open.
A good layout usually has three layers: a strong heading, a structured writing area, and a small action cue. The heading tells the user what the page is. The writing area gives them a place to capture details. The action cue reminds them what to do after filling it in. This simple pattern can be repeated across multiple pages in a bundle without making the design feel boring.
Use a Consistent Visual System
Choose two fonts at most: one for headings and one for body text. Pick a small color palette and use it consistently for labels, dividers, checkboxes, icons, and page numbers. Consistency makes the printable look professional even when the pages are simple. It also helps buyers trust the product because the bundle feels intentionally designed.
Make It Print-Friendly
Printables should not depend on heavy backgrounds or tiny low-contrast text. Many users print at home in black and white. Use borders, spacing, light shading, and icons carefully. Always test the page at actual size. If a person has to zoom in to read it, the layout needs to be simplified.
Add Instructions Without Overwhelming the Page
Short instructions can make a printable much easier to use. Add one sentence near the top of the page, such as “Fill this in before shopping,” “Review this every Sunday,” or “Use one card whenever you need a reset.” The instruction should be useful but not distracting.
Printable Bundle Comparison Table
You can sell or use this idea as a tiny worksheet, a medium planner, or a premium bundle. The right format depends on how detailed the topic is and how much support the user needs.
| Bundle Type | Suggested Size | Best For | What to Include |
|---|---|---|---|
| Mini Party Pack | 5–8 pages | Quick birthday, classroom party, small family event | Guest list, budget, decor checklist, food list, thank-you tracker |
| Complete Party Binder | 20–35 pages | Parents and hosts who want everything in one printable binder | Timeline, theme planner, games, vendor sheet, shopping list, menu, setup map |
| Premium Event Bundle | 40+ pages | Printable sellers, planners, and repeat party hosts | Multiple themes, editable cover pages, bonus cards, kids activity pages, and instruction sheets |
How to Create This Printable Step by Step
Step 1: Define the User and the Moment of Use
Decide who will use the printable and when they will use it. A page used during a busy event should be faster and more checklist-based. A page used during reflection can be slower and more spacious. A business worksheet should help the user compare information and make a decision. When you know the moment of use, the design becomes easier.
Step 2: Write the Page List Before Designing
Before opening a design tool, list all possible pages. Then remove anything that does not support the main outcome. Many beginner printable creators add too many decorative pages and not enough useful pages. A strong product feels complete because each page has a job.
Step 3: Sketch the Layout
Sketch the page with boxes before choosing fonts and colors. Place the most important section near the top. Put optional notes near the bottom. Use repeating page structures so the product is easy to navigate. If the printable has cards, labels, or cut-outs, test the spacing and cutting guides early.
Step 4: Add Examples and Microcopy
Examples can turn a confusing worksheet into a helpful guide. Add sample text in one row, placeholder labels, or a tiny “example” box. Microcopy is especially helpful for printables sold to beginners because it reduces the fear of using the page incorrectly.
Step 5: Export and Test
Export the printable as PDF for printing. If you offer an editable version, include a Canva template link or editable file instructions. Test the PDF on A4 and US Letter if you plan to sell globally. Check margins, readability, spelling, link behavior, and whether the file opens correctly on mobile and desktop.
How to Package, Promote, or Sell It
If you plan to sell this as a digital product, create multiple style variations such as pastel, bold, minimalist, and kid-friendly. Party buyers often shop by theme, so the same planning structure can become several products when the visual direction changes. Add mockup images showing the printed pages on a table with party supplies so buyers instantly understand the use case.
When writing a product listing or blog post around this printable, focus on the transformation. Explain what the user can organize, save, simplify, or remember. Use images that show the pages in context. For example, a planning worksheet should be shown with pens, clips, binders, laptops, supplies, or a realistic desk setup. Buyers need to imagine using the printable in their own life.
Create a short “what’s included” section with page count, file sizes, format, printing instructions, and recommended use. If the printable is editable, clearly explain what can and cannot be edited. If it includes affiliate links, commercial-use assets, or third-party templates, add a transparent disclosure.
Helpful Internal Links from Sensecentral
- Sensecentral Home
- How to Make Money with Teachable: A Complete Creator’s Guide
- Printable Party Guest List Tracker Ideas
- Printable Party Decoration Checklist Ideas
- Printable Party Food Planning Sheet Ideas
Useful External Links
Common Mistakes to Avoid
Making the Page Too Decorative
Decoration should support the printable, not overpower it. If the user cannot quickly see where to write, check, compare, or track, the page will not feel practical. Keep decorative elements around the edges and preserve clean writing areas.
Forgetting Mobile Shoppers
If you sell printables online, many buyers will view listing images on a phone. Make thumbnail text large, show the main pages clearly, and avoid crowded preview images. A beautiful printable can still underperform if the listing images are hard to read.
Not Explaining the File Type
Always explain whether buyers receive PDF, PNG, ZIP, Canva template link, or another format. Mention whether the product is an instant download and whether a physical item is shipped. Clear instructions reduce support messages and refund requests.
Skipping a Final Review Page
A final review page helps users reflect on what worked, what they would change, and what they need next time. This is useful for personal planning and also creates ideas for future printable products.
Useful Resources for Digital Product Creators
Affiliate disclosure: This post may include affiliate or resource links. Sensecentral may earn a commission or benefit when you use some links, at no extra cost to you. Always review each tool and offer before purchasing.
Explore Our Powerful Digital Products Bundle
Browse these high-value bundles for website creators, developers, designers, startups, content creators, and digital product sellers. These resources are useful if you want ready-made assets, templates, and creative packs to speed up your next project.
Explore Our Powerful Digital Products Bundle
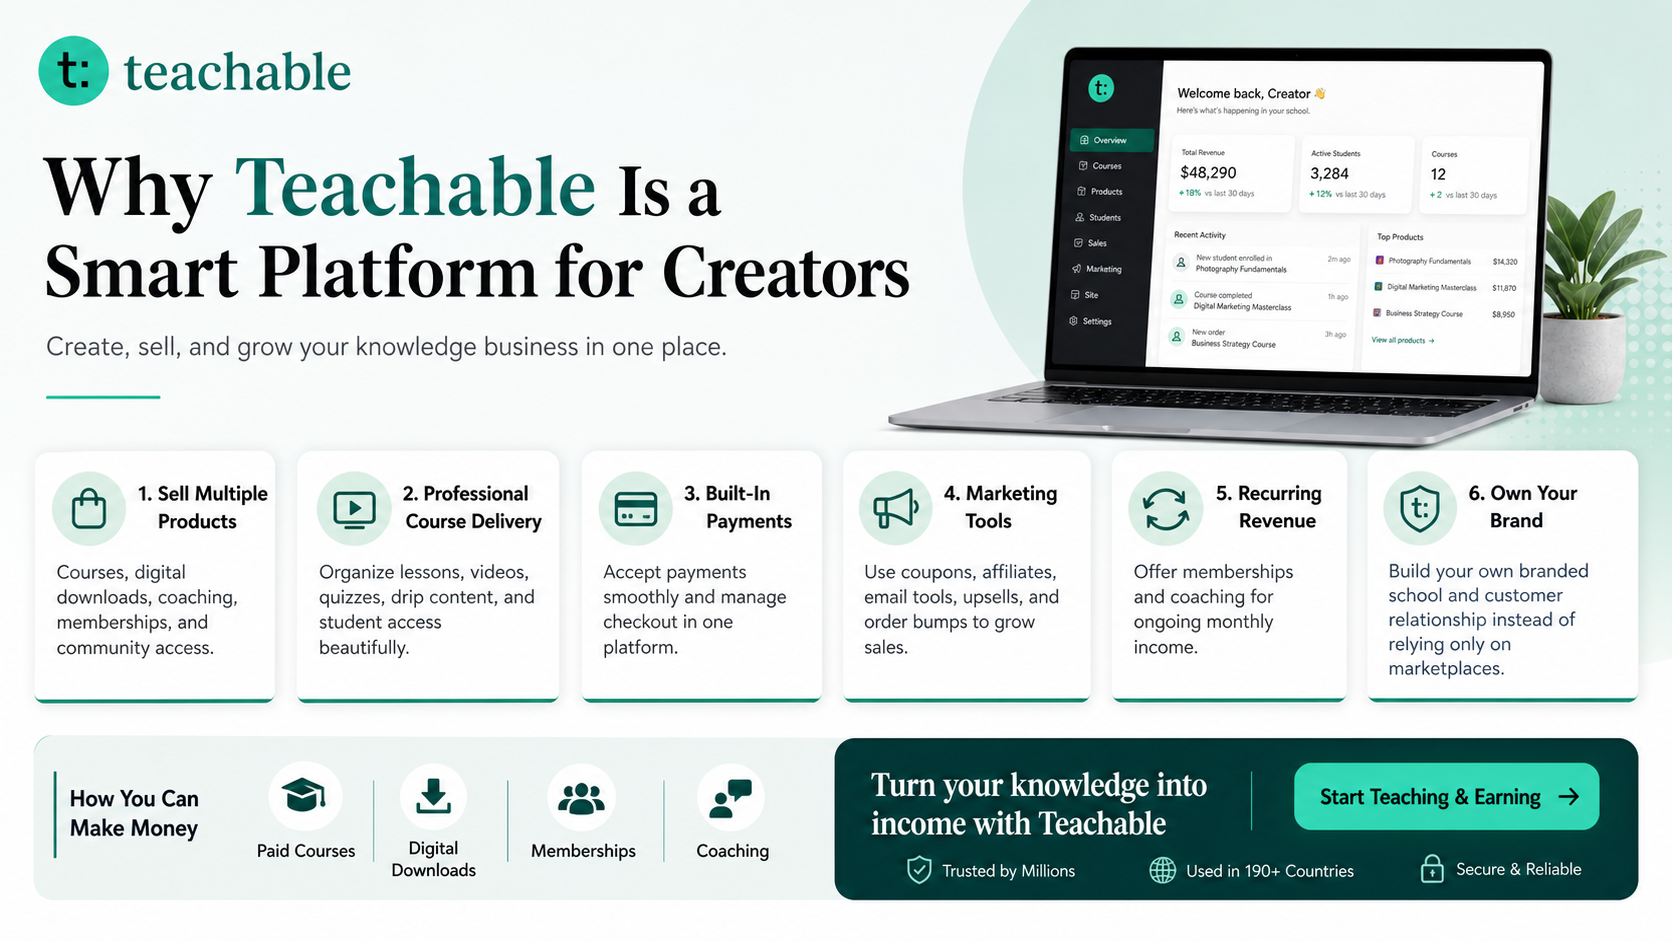
Try Teachable
Teachable is an online platform that lets creators build, market, and sell courses, digital downloads, coaching, and memberships. It helps educators and entrepreneurs turn their knowledge into a branded digital business without needing complex coding.
How to Make Money with Teachable: A Complete Creator’s Guide
Zee Sharp Productivity Tools
Zee Sharp is a growing suite of free online tools for productivity, development, and creativity. No sign-up. No watermarks. Just tools. It is useful when you need quick utilities while planning content, digital products, launches, checklists, and creative workflows.
FAQs
What size should this printable be?
US Letter and A4 are the safest choices. If the page includes game cards, thank-you cards, or labels, add cut lines and a second PDF with multiple cards per sheet.
Can I sell this printable on Etsy?
Yes, if the design, text, layout, and artwork are original or properly licensed. Add clear file instructions, printing notes, and a license statement so buyers understand what they receive.
Should I make it editable?
Editable versions can add value, especially for names, dates, menus, and theme details. A non-editable PDF works well for checklists, timelines, and trackers.
What pages make the bundle feel premium?
Add a cover page, quick-start guide, matching dividers, bonus cards, a shopping list, and a final event review page. These pages make the printable feel complete.
How do I make the design kid-friendly?
Use larger text, playful icons, simple colors, and clear sections. Avoid clutter because parents often print party pages quickly during a busy planning week.
Key Takeaways
- Start with the user’s real problem. The best printable helps the user complete a specific task, not just fill a pretty page.
- Use structured sections. Tables, prompts, checkboxes, and status labels make the page easier to use.
- Design for printing first. Keep fonts readable, margins safe, and colors light enough for home printers.
- Bundle related pages. A focused bundle can feel more valuable than one oversized generic planner.
- Add clear instructions and disclosures. Explain file types, editable access, affiliate links, license terms, and intended use.
Suggested Keyword Tags
party planning binder printable party planner party checklist event planning printable party binder kids party planner party budget party guest list party decorations party food planner party games event timeline
References and Further Reading
- Etsy Seller Handbook
- Canva Design School
- FTC Endorsement Guides: What People Are Asking
- Sensecentral: How to Make Money with Teachable
- Zee Sharp Free Online Tools
- Premium Digital Product Bundles
Editorial note: This guide is for planning and educational purposes. For business, tax, legal, medical, travel, or mental health decisions, check the official source and consult a qualified professional when needed.
