
- Table of Contents
- 1) What is a staging site (and why it’s different from a backup)?
- 2) Why staging matters for safe WordPress updates
- 3) Staging vs Development vs Production (simple workflow)
- 4) 4 ways to create a WordPress staging site
- Method A: Host-provided staging (recommended for most people)
- Method B: Staging plugin
- Method C: Local development
- Method D: Manual clone (subdomain or separate directory)
- 5) Staging best practices (what most people forget)
- 1) Prevent search engines from indexing staging
- 2) Stop staging from sending real emails
- 3) Be careful with payment gateways and webhooks
- 4) Know what should (and shouldn’t) be pushed to live
- 5) Clear caches and retest performance
- 6) A safe update workflow you can follow every time
- 7) Checklists: pre-flight, testing, and go-live
- 8) How Kinsta makes staging safer and faster
- Key Takeaways
- FAQ
- Do I need a staging site if my WordPress site is small?
- Can I use staging for WooCommerce?
- How often should I refresh staging?
- Will staging affect my SEO?
- What’s the fastest way to get staging without technical work?
- Suggested internal links (Sensecentral)
- References (external)
Affiliate disclosure: This post contains affiliate links. If you buy through these links, I may earn a commission at no extra cost to you.
If you want a staging workflow that’s fast, isolated, and easy to push live, managed hosts like Kinsta make the process significantly safer for non-developers and busy site owners.
Updating WordPress should be routine—yet many site owners delay updates because they fear breaking their site. That fear is justified: a plugin conflict, a theme function error, or a PHP version mismatch can trigger white screens, critical errors, layout issues, checkout failures, or performance regressions.
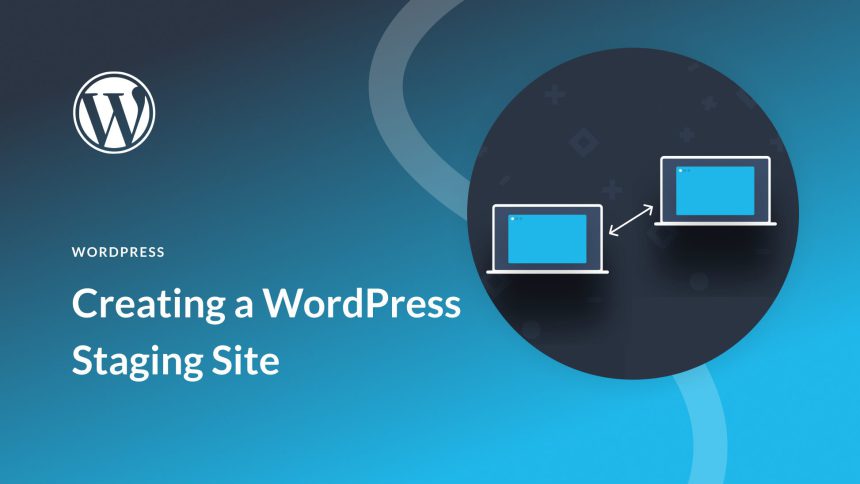
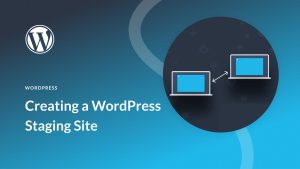
A staging site solves this. Think of staging as a safe “practice field” that mirrors your live site (production). You test updates and changes in staging first. If everything works, you move those changes to live with confidence. If something fails, your visitors never see it.
Table of Contents
- What is a staging site (and why it’s different from a backup)?
- Why staging matters for safe WordPress updates
- Staging vs Development vs Production (simple workflow)
- 4 ways to create a WordPress staging site
- Staging best practices (what most people forget)
- A safe update workflow you can follow every time
- Checklists: pre-flight, testing, and go-live
- How Kinsta makes staging safer and faster
- FAQ
- References
1) What is a staging site (and why it’s different from a backup)?
A staging site is a separate copy of your WordPress site used for testing changes before they go live. It typically includes the same database structure, plugins, theme, and content—so you can validate real-world behavior (forms, login, caching, search, checkout, etc.).
A backup, by contrast, is a “restore point.” Backups are critical, but backups don’t prevent breakage—they only help you recover after something goes wrong. Staging prevents many issues from ever reaching your visitors.
Practical rule: Use staging to avoid breakage. Use backups to recover from the unexpected. You want both.
2) Why staging matters for safe WordPress updates
Staging reduces risk because it lets you validate changes in a controlled environment. Here are the most common failures staging helps you catch:
- Plugin conflicts: Two plugins attempt to modify the same hooks, scripts, or database tables.
- Theme incompatibility: A theme update changes templates or removes functions a plugin expects.
- PHP version issues: A plugin uses deprecated functions or fails under a newer PHP runtime.
- Performance regressions: A new feature adds heavy queries, slow JS, or unoptimized images.
- Commerce and forms breakage: Payment gateways, cart logic, or email flows fail silently.
If your site drives revenue, leads, or reputation, the cost of “testing on live” is simply too high. Staging is especially important if you:
- Run WooCommerce, LMS, membership, or booking systems
- Use many plugins (10+)
- Rely on page builders and complex themes
- Have high traffic or SEO dependence
3) Staging vs Development vs Production (simple workflow)
A simple, practical WordPress workflow looks like this:
- Production (Live): The site visitors use. Must stay stable.
- Staging (Pre-live): A clone used for testing updates and changes safely.
- Development (Optional): A place for active feature work and experiments (often local).
For many site owners, you can keep it even simpler:
Recommended: Live → Staging → (Test updates) → Push to Live
This approach is realistic for small teams, solo creators, agencies, and businesses that need reliability more than complex DevOps.
4) 4 ways to create a WordPress staging site
There are several ways to set up staging. The best option depends on your budget, technical comfort, and how often you update.
| Method | Best for | Pros | Cons / Risks |
|---|---|---|---|
| Host-provided staging | Most site owners, agencies, frequent updates | Fast setup, isolated environment, easier push-to-live | Depends on host features; must manage data-sync carefully |
| Staging plugin | Shared hosting users, lightweight sites | No host change; convenient for basic testing | May be slower on large sites; push-to-live can be limited |
| Local development | Developers, custom code work | Maximum control; faster iteration | Harder to mirror production; requires tooling and discipline |
| Manual clone (subdomain) | Advanced users with time and backups | Works almost anywhere | Easy to misconfigure; risk of indexing or sending emails |
Method A: Host-provided staging (recommended for most people)
Many managed WordPress hosts provide staging in the dashboard—often the easiest route. You clone your site into staging, test changes, and then push changes to live when you’re satisfied.
Method B: Staging plugin
Staging plugins can create a clone inside your hosting environment. This can be good for smaller sites, but be careful with large databases, WooCommerce stores, and membership sites where data changes frequently.
Method C: Local development
If you write custom code or maintain multiple environments, local development tools can be powerful. The downside: it’s harder to perfectly mirror the server configuration of your live site.
Method D: Manual clone (subdomain or separate directory)
This is the DIY approach: copy files, export/import the database, update wp-config.php, fix URLs, and lock indexing. It works, but it’s the most error-prone method and easiest to mess up under time pressure.
5) Staging best practices (what most people forget)
Staging works best when you treat it as a controlled testing lab—not just “another copy” of your site. These best practices prevent the most common staging mistakes:
1) Prevent search engines from indexing staging
You do not want Google indexing staging URLs (duplicate content). Ensure staging is blocked via password protection and/or “discourage search engines” settings, and consider adding noindex headers if available.
2) Stop staging from sending real emails
A staging site can accidentally send customer emails, password resets, and order notifications. Use email logging, disable outbound email, or route emails to a sandbox address.
3) Be careful with payment gateways and webhooks
If you run WooCommerce or memberships, use test mode keys and disable webhooks on staging. Otherwise you can create real charges, subscriptions, or duplicate orders.
4) Know what should (and shouldn’t) be pushed to live
Pushing “everything” from staging to live can overwrite important production data. The biggest risk is overwriting:
- New orders, customers, and form submissions
- New comments, user registrations, support tickets
- Membership changes and course progress
A safe approach is to treat staging as the place for code/config changes (themes, plugins, settings) and production as the place for live data (orders, users, submissions).
5) Clear caches and retest performance
Caching layers can hide problems. After updates, clear caches and retest key pages. If your host provides edge caching or CDN features, you want staging to replicate that as closely as possible.
6) A safe update workflow you can follow every time
Here is a repeatable staging workflow that works for most WordPress sites—whether you update weekly or monthly.
- Take a fresh backup (live) — even if you have automated backups.
- Create/refresh your staging copy — pull a recent version of production into staging.
- Run updates in staging — WordPress core, plugins, theme, and PHP version changes.
- Test your money pages and critical paths — homepage, top posts, forms, checkout, login, search.
- Fix issues in staging — roll back the problem plugin, replace it, or adjust settings.
- Push changes to live — ideally with a controlled “push” workflow that avoids overwriting live data.
- Verify on live — quick smoke test and monitor logs/analytics for a short window.
Pro tip: If you maintain client sites or multiple sites, schedule a monthly “staging maintenance window.” You’ll update faster, with fewer emergencies.
7) Checklists: pre-flight, testing, and go-live
Pre-flight checklist (before you change anything)
| ✅ Confirm you can log in to wp-admin on live and staging | ✅ Take a fresh backup (or confirm latest backup exists) |
| ✅ Note current versions (WordPress, plugins, theme, PHP) | ✅ Confirm staging is noindex + protected |
| ✅ Disable caching plugins temporarily if needed | ✅ Put payment gateways in test mode on staging |
Testing checklist (staging)
- Open site in incognito + mobile view (layout + fonts + menus)
- Test forms: contact, newsletter, lead capture (ensure no real emails are sent)
- Test login/logout and password reset
- Test search and category filters
- Test performance basics: page loads, major pages, image rendering
- If WooCommerce: add-to-cart, checkout, coupons, order emails (sandbox)
Go-live checklist
- Plan a low-traffic time window
- Push changes carefully (avoid overwriting live orders/users)
- Clear caches (server + plugin + CDN if applicable)
- Smoke test on live (critical pages + revenue paths)
- Monitor error logs and uptime for at least 30–60 minutes
8) How Kinsta makes staging safer and faster
If you want staging without complexity, a managed platform can reduce friction significantly. Kinsta’s approach is designed for fast cloning, safe testing, and controlled deployment inside the MyKinsta dashboard.
- Dedicated staging per WordPress install: A staging environment that’s separate from your live site.
- Faster iteration: Create staging in minutes for plugin tests, theme changes, and WordPress upgrades.
- Push workflow: When you’re ready, you can push staging changes toward production (with the right precautions).
- Optional multi-staging: If you run complex workflows (agencies/teams), multiple staging environments can help isolate features and QA.
Who benefits most from Kinsta staging?
- Business sites where downtime is costly
- WooCommerce stores that require safe testing
- Agencies managing multiple client sites
- Publishers focused on speed + stability
Recommended next step
If you want staging + performance tooling in one place, Kinsta is a strong choice to consider.
If you’re currently on basic shared hosting and staging feels slow or fragile, moving to a managed host with staging built-in can turn “I hope this update works” into a confident routine.
Key Takeaways
- Staging prevents breakage by letting you test updates before visitors see them.
- Backups are still essential, but backups are recovery—staging is prevention.
- Most staging mistakes involve indexing, emails, payments, and overwriting production data.
- Use a repeatable workflow: backup → refresh staging → update → test → push → verify.
- Managed staging (like Kinsta’s) can reduce setup time and deployment risk for busy site owners.
FAQ
Do I need a staging site if my WordPress site is small?
If your site is truly simple (few plugins, no forms, no revenue flows), you can sometimes update carefully on live. But even small sites break from plugin conflicts. Staging is the safer default—especially if you value uptime and peace of mind.
Can I use staging for WooCommerce?
Yes, but you must be careful. Use test payment keys on staging, disable webhooks, and avoid pushing “all data” back to live if it overwrites orders/customers created in production.
How often should I refresh staging?
Refresh staging before major updates (WordPress core, big plugin upgrades, theme redesigns) or at least monthly if your site changes frequently. A stale staging site won’t reflect real-world behavior.
Will staging affect my SEO?
It can if misconfigured. Ensure staging is blocked from indexing, protected behind authentication, and does not appear in sitemaps. This prevents duplicate content and index pollution.
What’s the fastest way to get staging without technical work?
Use a host that includes staging in the dashboard. This is where managed WordPress hosts typically outperform DIY setups—especially when you need reliable push-to-live workflows.
Suggested internal links (Sensecentral)
- Sensecentral homepage
- Kinsta review on Sensecentral
- WordPress security checklist
- How to fix WordPress errors (500/memory/plugin conflicts)
- How to reduce TTFB in WordPress


