How to Create a Wedding Vendor Planner
Wedding Vendor Planner is a practical printable or digital product idea for engaged couples, brides, planners, wedding vendors, and digital printable sellers building elegant planning bundles. In this guide, you will learn how to plan the structure, choose the right pages, design a polished layout, and turn the finished planner into a useful product that can support your audience and your digital-product business.
Why this planner is worth creating
Wedding planners are emotional and practical at the same time. Couples need beauty, but they also need budget clarity, vendor records, timelines, guest details, and calm decision-making.
A strong Wedding Vendor Planner helps users bring budgets, guests, vendors, décor, ceremony notes, reception details, and timelines into one beautiful planning system. The product should not be a random pack of pretty pages. It should guide the user from confusion to action. That means each section must answer one of three questions: what do I need to remember, what do I need to decide, and what do I need to repeat?
The goal is not to create a thick binder for the sake of volume. The best version gives the user a trusted place to capture decisions, repeat routines, and review progress.
For SenseCentral readers who review and compare digital products, this type of planner is also useful because it can be evaluated by clear criteria. You can compare page count, usability, print quality, Canva editability, mobile friendliness, niche fit, and whether the product includes instructions. Those comparison points make the post more helpful for buyers and also help creators improve their own bundles.
Essential pages and sections to include
Start with a small but complete page system. A planner becomes overwhelming when every idea becomes a page. A better approach is to create a core version first, test whether the order feels natural, and then add bonus pages only when they solve a real problem. For a Wedding Vendor Planner, the following pages create a strong foundation.
- Wedding dashboard: Use this page to capture the exact details a buyer would otherwise keep in a notebook, phone note, or random spreadsheet.
- Vendor comparison: Use this page to capture the exact details a buyer would otherwise keep in a notebook, phone note, or random spreadsheet.
- Budget tracker: Use this page to capture the exact details a buyer would otherwise keep in a notebook, phone note, or random spreadsheet.
- Guest list manager: Use this page to capture the exact details a buyer would otherwise keep in a notebook, phone note, or random spreadsheet.
- Décor mood board: Use this page to capture the exact details a buyer would otherwise keep in a notebook, phone note, or random spreadsheet.
- Reception layout: Use this page to capture the exact details a buyer would otherwise keep in a notebook, phone note, or random spreadsheet.
- Payment schedule: Use this page to capture the exact details a buyer would otherwise keep in a notebook, phone note, or random spreadsheet.
- Packing list: Use this page to capture the exact details a buyer would otherwise keep in a notebook, phone note, or random spreadsheet.
- Contact sheet: Use this page to capture the exact details a buyer would otherwise keep in a notebook, phone note, or random spreadsheet.
- Day-of emergency plan: Use this page to capture the exact details a buyer would otherwise keep in a notebook, phone note, or random spreadsheet.
- Timeline checklist: Use this page to capture the exact details a buyer would otherwise keep in a notebook, phone note, or random spreadsheet.
- Ceremony worksheet: Use this page to capture the exact details a buyer would otherwise keep in a notebook, phone note, or random spreadsheet.
| Planner section | Why it matters | Product upgrade idea |
|---|---|---|
| Wedding dashboard | Keeps the system practical instead of decorative | Add editable Canva fields |
| Vendor comparison | Gives the user a repeatable place to record decisions | Include checkbox and notes versions |
| Budget tracker | Keeps the system practical instead of decorative | Create portrait and landscape layouts |
| Guest list manager | Gives the user a repeatable place to record decisions | Add editable Canva fields |
| Décor mood board | Keeps the system practical instead of decorative | Include checkbox and notes versions |
| Reception layout | Gives the user a repeatable place to record decisions | Create portrait and landscape layouts |
| Payment schedule | Keeps the system practical instead of decorative | Add editable Canva fields |
| Packing list | Gives the user a repeatable place to record decisions | Include checkbox and notes versions |
Step-by-step creation workflow
1. Define the exact user
Before opening Canva, Google Docs, PowerPoint, Affinity Publisher, or any design tool, write one sentence describing the person who will use this planner. For example, the user may be a busy parent, a new teacher, a bride planning without a coordinator, a home cook trying to reduce waste, or a family trying to reset every Sunday. This sentence becomes your filter. If a page does not help that person, remove it or move it into a bonus section.
2. Choose the main outcome
The main outcome should be specific. “Get organized” is too broad. A stronger outcome is “plan weekly meals from pantry inventory,” “prepare a substitute teacher file in one evening,” “track wedding vendor payments,” or “build a weekly family reset routine.” When the outcome is clear, the buyer understands why the planner matters and how it fits into their life.
3. Map the sections in user order
Do not arrange pages only by what looks pretty. Arrange them in the order a user will naturally need them. A setup page usually comes first, followed by reference pages, then recurring pages, then review pages. For a printable bundle, include a divider page before each major section so users can build a binder without confusion.
4. Design one master layout
Create one polished page style and reuse it. Keep margins generous, use readable fonts, and avoid decorative elements that compete with the writing area. A good planner page has a clear title, a short instruction line, enough blank space, and consistent footer details. Reusable design rules make the whole bundle look premium even when it contains many pages.
5. Build the printable, editable, and digital versions
Many buyers prefer printable PDF pages, while others want editable Canva templates, GoodNotes-style pages, or fillable PDFs. You do not need every version on day one, but you should plan your file structure early. Keep source files, export folders, preview images, and instruction pages organized. This makes future updates much easier.
6. Add instructions and examples
A planner is more valuable when the buyer knows how to use it. Add a “start here” page with simple instructions. Include a filled example page if the topic is complex. Examples reduce refund requests, improve buyer confidence, and make your product feel more complete.
Planner format comparison table
The best format depends on the buyer, the use case, and the selling platform. Use the comparison below to decide how to package your Wedding Vendor Planner.
| Format | Best for | Pros | Watch out for |
|---|---|---|---|
| Printable PDF | Binder users and home printing | Simple, universal, easy to sell | Needs clear printing instructions |
| Editable Canva template | Buyers who want customization | Higher perceived value and flexible design | Requires access instructions and support notes |
| Fillable PDF | Desktop users and paperless workflows | Professional and reusable | Must be tested across PDF apps |
| Digital planner pages | Tablet users and stylus note-takers | Modern, attractive, and easy to duplicate | Needs app compatibility guidance |
Design and usability tips
Use a calm visual hierarchy. The page title should be obvious, the action area should be generous, and decorative graphics should support the mood without reducing writing space. For printable products, avoid very pale gray text because it may print poorly on home printers. For digital products, test the pages on a laptop and phone preview so the buyer experience is not limited to your design screen.
Create three visual levels: section dividers, core worksheets, and quick-reference pages. Dividers can be more decorative. Worksheets should be clean and practical. Reference pages can use icons, small tables, or compact lists. This gives the product variety without making it look inconsistent.
Also think about ink usage. Many buyers love beautiful pages but dislike wasting ink. A smart bundle can include both decorative and ink-friendly versions. This is a simple upgrade that makes your listing more competitive and gives reviewers something positive to mention in comparisons.
How to package it as a digital product
If you plan to sell the Wedding Vendor Planner, package it like a complete experience, not just a file. Include a cover page, table of contents, instructions, page list, printing guide, license terms, and a simple support note. For Etsy, Gumroad, Payhip, Shopify, or your own WordPress site, buyers need to understand what they receive before they purchase.
Listing images are especially important. Show the cover, page thumbnails, a “what’s included” graphic, a close-up of one worksheet, and a lifestyle mockup. If your product includes Canva access, add a clear image explaining that buyers receive a template link and can edit colors, fonts, and text. If it is printable only, mention that no physical product will be shipped.
Pricing depends on depth. A simple 10-page planner may work as a low-cost product or lead magnet. A 40- to 80-page bundle with editable versions, instructions, bonus covers, and multiple sizes can be positioned as a premium printable. The perceived value increases when the pages feel connected and when the product solves one clear problem from start to finish.
Useful Resource: Explore Our Powerful Digital Products Bundle
Browse these high-value bundles for website creators, developers, designers, startups, content creators, and digital product sellers. This is a helpful shortcut if you want ready-made assets, design resources, and digital product inspiration for building faster.
Useful creator resources
Zee Sharp is a growing suite of free online tools for productivity, development, and creativity. No sign-up. No watermarks. Just tools. It can help creators quickly handle small tasks while planning, writing, formatting, and launching digital products.
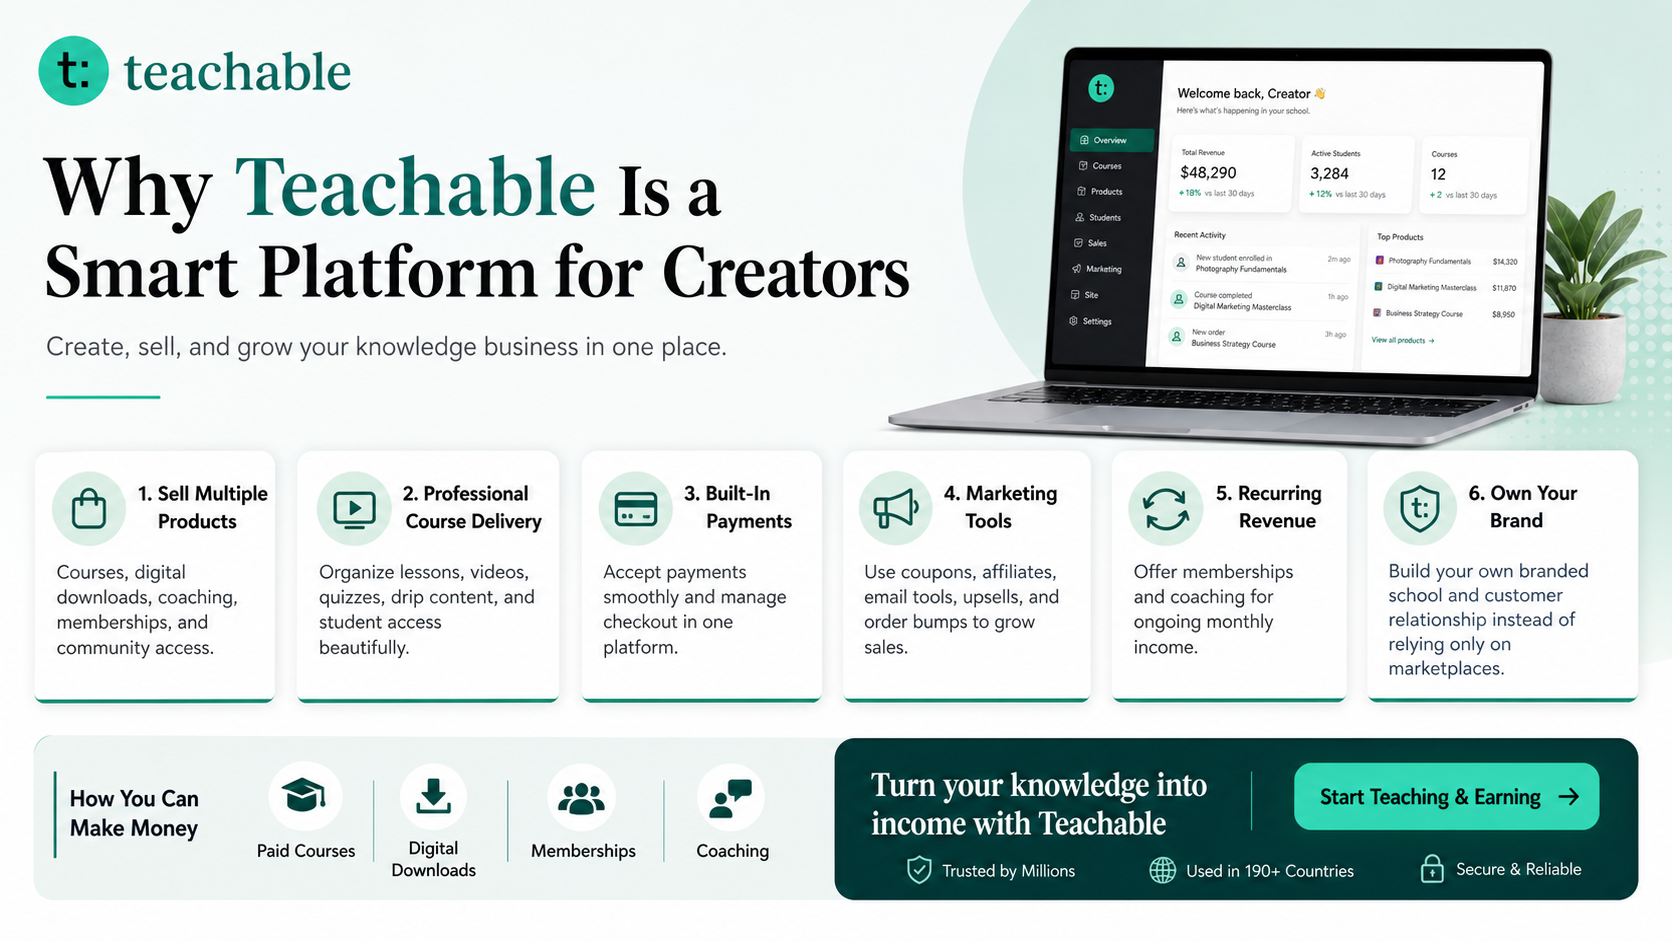
Turn your knowledge into a paid digital business with Teachable
Teachable is an online platform that lets creators build, market, and sell courses, digital downloads, coaching, and memberships. It helps educators and entrepreneurs turn their knowledge into a branded digital business without needing complex coding.
How to Make Money with Teachable: A Complete Creator’s Guide
Further reading on SenseCentral
- How to Create a Wedding Binder Planner
- How to Create a Wedding Budget Workbook
- How to Create a Wedding Planning Bundle
- How to Make Money with Teachable: A Complete Creator’s Guide
- Visit SenseCentral for more product comparisons and digital product ideas
FAQs
How many pages should a Wedding Vendor Planner include?
A useful starter version can include 12 to 20 pages. A premium bundle can include 40 or more pages if every page has a purpose. Do not add pages only to increase the page count; add pages that make the system easier to use.
Should I make it printable, editable, or both?
Printable PDF is the easiest format for most buyers. Editable Canva templates can increase value because buyers can customize colors, labels, and layouts. If you have time, offer both and clearly explain the difference in your product listing.
What size should I design?
US Letter and A4 are the most practical starting sizes. For binders, also consider half-letter inserts. If the audience uses tablets, create a digital version with clear tabs and landscape navigation.
How do I make the planner look premium?
Use consistent typography, generous spacing, a limited color palette, and clear section dividers. Add instructions, examples, and mockups. Premium design is less about decoration and more about clarity, confidence, and a smooth buyer experience.
Can this become a course or workshop?
Yes. A planner can become the workbook for a mini course, coaching session, live workshop, or paid membership resource. That is why platforms like Teachable can be useful for creators who want to sell knowledge, templates, and learning experiences together.
Key Takeaways
- A strong Wedding Vendor Planner solves one clear problem and guides the user toward action.
- Start with core pages, then add bonus pages only when they improve the user experience.
- Printable PDF, editable Canva, fillable PDF, and digital planner versions serve different buyer needs.
- Good listing images, instructions, and examples can make a digital product feel more trustworthy.
- Affiliate resources such as Teachable, Zee Sharp, and curated digital product bundles can support creators who want to build, launch, and sell faster.