
Overview
GelMA (gelatin methacrylate) is a gelatin-based hydrogel that reacts and crosslinks in the presence of LAP and Allevi blue light technology (1,2). The recommended preparation provided in the user instruction below yields a streamlined matrix bioink that supports 3D bioprinted cell-laden constructs. However, preparation can be modified by users to suit their needs. Follow this step-by-step guide for bioprinting gelMA in your lab.
Materials
· LAP
· Cell media
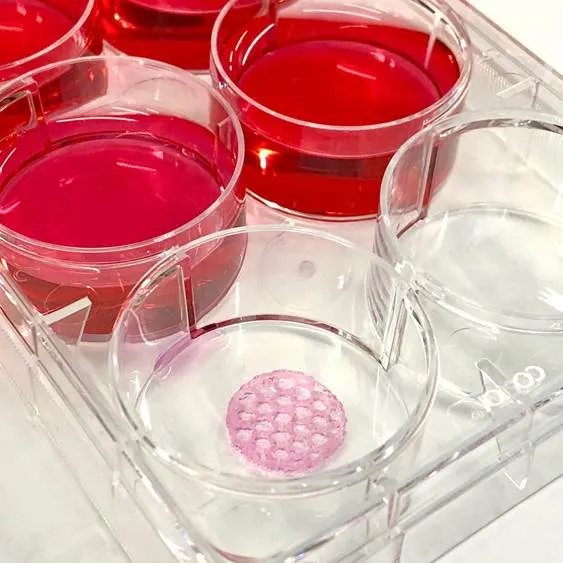
· GelMA
· Plastic syringe (5mL or 10 mL)
· Syringe filter
· Syringe coupler
· Petri dish or well plate for printing
· Optional: Glass slide (glass slide treatment protocol)
Methods
- Mix LAP in 3 ml of PBS or cell media at 60°C under stirring to create a 0.5% w/v LAP concentration. Mix until all LAP is dissolved.
- Add GelMA to solution to create a 10% w/v concentration. Mix at 60°C under stirring until all GelMA is dissolved. Be sure the container is tightly sealed while mixing to avoid evaporation of solution.
- Keep GelMA at 60°C and filter with syringe filter under sterile conditions.
- In a sterile environment, cool solution to 37°C and load into syringe A.
- Under sterile conditions and while solution in syringe A is still at 37°C, load concentrated cell solution into syringe B and mix with solution in syringe A using a syringe coupler. Be sure to mix thoroughly to create a homogenous solution.
- Once solution is thoroughly mixed, transfer entire mixture to syringe A, then remove syringe B from syringe couple and replace with an empty syringe (syringe C). Transfer entire solution to syringe C.
- Remove syringe coupler and place plastic bioprinting tip (Guide to Picking Your Bioprinting Needle) on syringe C, then load into the Allevi bioprinter.
- Cool extruder until bioink reaches 22°C.
- Prepare your design file on the Allevi software and use the print settings outlined below.
Print Settings
| Speed (mm/s) | Layer height (mm) | Nozzle Diam (mm) | Gauge | Pressure (PSI) | Print Temp (°C) |
| 4.0 | 0.3 | 0.3 | 27 Tapered | 10-12 | 25 |
*Critical step: Your needle can have significant effects on print settings. Be sure to use the suggested needle type or re-calibrate print parameters.
Crosslinking settings
During Print
| Crosslinking light | Intensity | Frequency | Duration (s) |
| Blue (405nm) | 15% | 2 | 10 |
Post-print
| Crosslinking light | Intensity | Duration (s) |
| Blue (405nm) | 80% | 120 |
Notes
- Issues with gelMA bioprinting? Check out our Troubleshooting Guide.
- Gelation time and gel stiffness can be adjusted by varying the concentration of GelMA or LAP. For help adjusting print parameters please contact support@allevi3d.com.
- A fill volume change of more than 2 ml may affect pressure settings.
A lower gauge size or tapered gauge will require a lower pressure, while a higher gauge will require a higher pressure for extrusion. Lowering the gauge size will also generally lower resolution
