SenseCentral guide: A practical, beginner-friendly system for building a clean and useful clothing budget tracker.
How to Create a Clothing Budget Tracker
A good clothing budget tracker is not just a pretty page. It is a decision tool. It shows what is happening with your money, what needs attention, what can wait, and what action should happen next. When the template is designed well, you do not need to keep checking five apps, old receipts, bank messages, calendar reminders, and mental notes.
This guide walks you through a complete structure you can copy into Google Sheets, Excel, Notion, a printable planner, or a simple notebook. The goal is to make the template stylish enough to enjoy using, but simple enough to update even during a busy week.
Key Takeaways
- A clothing budget tracker should focus on decisions, not decoration.
- Start with only the fields you will update consistently: budgeted amount, actual cost, need or want, cost per wear, and return window.
- Use a weekly or monthly review routine so the template stays alive.
- Add a small notes column because real money decisions often need context.
- Keep the design clean, mobile-friendly, printable, and easy to duplicate for future months.
Why This Template Matters
Most people do not struggle with money because they are lazy or careless. They struggle because money decisions arrive in small pieces. A bill is due this week, a school cost appears next week, a subscription renews quietly, groceries cost more than expected, and a friend invites them to something they did not plan for. Without a simple tracking page, each decision feels separate. A clothing budget tracker brings those pieces together.
The best version of this template should answer three questions quickly: What is the current situation? What needs to happen next? and What should change next time? If it cannot answer those questions, it may be attractive, but it is not yet useful. The template should also reduce emotional pressure. Seeing numbers clearly can be uncomfortable at first, but clarity is calmer than guessing.
Use this template when you want a focused system for separate true replacement needs from trend purchases and event pressure. It can help beginners build confidence, families coordinate spending, and busy people catch small leaks before they become larger problems.
Before You Build It: Gather the Right Inputs
Before designing columns and colors, gather the basic information that will feed the template. This may include recent bank transactions, bills, receipts, due dates, account balances, shopping lists, family commitments, or calendar events. For a cleaner first draft, look back at the last 30 to 90 days instead of relying only on memory.
Do not worry if the numbers are imperfect. A working estimate is better than a blank page. The first version of your clothing budget tracker should be treated as a draft. You will improve it after one review cycle. Many people wait until they can build the perfect spreadsheet, then never start. A simple page used every week is more valuable than a complex dashboard opened once.
A clothing tracker works best when you review your wardrobe before shopping.
Fields to Include in Your Clothing Budget Tracker
The fields below give the template structure. You can remove anything that does not match your life, but avoid removing due dates, amounts, and status fields. Those three details usually create the most useful decisions.
| Field | Why It Matters | How to Use It |
|---|---|---|
| Item | The label that makes the line easy to understand later. | Use short, consistent values so the clothing budget tracker stays easy to scan. |
| Person | The number you will use for planning instead of guessing. | Use short, consistent values so the clothing budget tracker stays easy to scan. |
| Reason needed | A timing detail that prevents late decisions. | Use short, consistent values so the clothing budget tracker stays easy to scan. |
| Season | A status marker that shows whether action is still needed. | Use short, consistent values so the clothing budget tracker stays easy to scan. |
| Budgeted amount | A comparison point for future reviews. | Use short, consistent values so the clothing budget tracker stays easy to scan. |
| Actual cost | A note area for context, reminders, links, or receipts. | Use short, consistent values so the clothing budget tracker stays easy to scan. |
| Replacement or want | A priority marker for when money is limited. | Use short, consistent values so the clothing budget tracker stays easy to scan. |
| Cost per wear estimate | A progress indicator that keeps the template motivating. | Use short, consistent values so the clothing budget tracker stays easy to scan. |
| Purchase date | A review prompt that turns the template into a habit. | Use short, consistent values so the clothing budget tracker stays easy to scan. |
| Return window | A small decision field that tells you what to do next. | Use short, consistent values so the clothing budget tracker stays easy to scan. |
Step-by-Step Setup
1. Choose one clear purpose
Write the purpose at the top of the template in one sentence. For example: “This clothing budget tracker helps me plan, track, and review this area of spending before it becomes stressful.” A clear purpose keeps the page focused. Without it, you may keep adding extra tabs, charts, and categories until the template becomes too heavy to use.
2. Decide your planning period
Choose whether the template is weekly, monthly, per paycheck, per event, per goal, or ongoing. The period should match the natural rhythm of the topic. Food, transport, and impulse spending often work better weekly. Bills, debt, insurance, and utilities often work better monthly. Events, holidays, and school expenses may need a deadline-based view.
3. Add the core number fields first
Start with the numbers that affect decisions: planned amount, actual amount, remaining amount, due date, and priority. If you are using a spreadsheet, add formulas only after the basic table is clear. Formula examples include Remaining = Budget - Actual, Progress % = Current / Target, and Monthly Set-Aside = Balance Needed / Months Left.
4. Add a status column
Status columns prevent rechecking the same issue repeatedly. Simple options work best: Not Started, Planned, Paid, Waiting, Review, Done, Cancel, or Carry Forward. Use consistent wording so you can filter and scan the template quickly.
5. Add a notes column for real life
Money templates fail when they pretend every decision is purely mathematical. Add a notes area for context such as “price increased,” “family event moved,” “doctor follow-up pending,” “refund expected,” “waiting for salary,” or “use pantry first.” Notes make future reviews more useful because they explain why the number happened.
6. Make the template visually scannable
Use section headers, light shading, enough white space, and short labels. Keep the color system meaningful: one color for urgent items, one for completed items, and one for review items. A stylish template should feel calm, not crowded. If printing, test one page before building the full system.
7. Create a review box
Add a small review box at the bottom with three prompts: What worked? What leaked money? What will I change next time? These prompts turn the template from a record into a learning system. Over time, the review box may become the most valuable part of the page.
8. Duplicate and archive
At the end of each period, duplicate the template and save the old version. This creates a history. After three months, you can compare patterns instead of guessing. You may discover that one category always rises, one bill always surprises you, or one habit quietly improves your budget.
Sample Clothing Budget Tracker Layout
Here is a simple layout you can recreate in a spreadsheet or planner. The exact column names can change, but the structure should always move from plan to action to review.
| Section | What to Add | Example |
|---|---|---|
| Header | Template name, month/week, goal, and review date | Clothing Budget Tracker – June Review |
| Planning Area | Expected amounts, limits, due dates, and priority | Budget limit, target amount, or upcoming due date |
| Tracking Area | Actual entries as money moves | Amount paid, amount spent, quantity used, or savings added |
| Decision Area | Next action and status | Pay, pause, cancel, reduce, compare, transfer, or review |
| Review Area | Lessons and next adjustment | Reduce budget by 10%, add buffer, change due-date reminder |
Manual vs Spreadsheet vs App
| Format | Best For | Pros | Watch Out For |
|---|---|---|---|
| Printable page | People who like writing and visual reminders | Simple, focused, low distraction | Totals must be calculated manually |
| Spreadsheet | People who want formulas and monthly history | Flexible, searchable, easy to duplicate | Can become overbuilt if you keep adding features |
| Notes app or Notion page | People who want access from phone and desktop | Convenient, clean, easy to link documents | May not handle calculations as clearly as a spreadsheet |
| Budgeting app | People who want automation | Bank syncing and reminders can save time | Less customizable for personal categories and emotional notes |
How to Review the Template
Set a review time before you start using the template. A review does not need to be long. Ten focused minutes can be enough. Open the template, update missing entries, check the remaining amount, mark finished items, and write one lesson. The lesson is important because it changes future behavior.
For weekly reviews, ask: Did I stay within the limit? What purchase or bill surprised me? What can I prepare before next week? For monthly reviews, ask: Which category needs a buffer? Which cost can be reduced? Which goal needs more attention? Which habit made the biggest difference?
If the template shows a negative result, do not treat it as failure. Treat it as information. Maybe the budget was too tight, the timing was wrong, the category was missing, or the plan ignored a predictable event. Adjust the system instead of abandoning it.
Common Mistakes to Avoid
Too many categories
More categories do not always mean more control. Use enough detail to make decisions, but not so much that updating becomes exhausting.
No due dates
Amounts matter, but timing matters too. A cost due before payday can create stress even when the monthly total looks affordable.
No actuals
A plan without actual results cannot teach you anything. Always compare planned numbers with what really happened.
No review habit
The template is only useful when it is reviewed. Put the review on your calendar, payday routine, or weekly planning session.
Useful Resources for Digital Templates, Tools, and Creator Income
Explore Our Powerful Digital Products
Browse these high-value bundles for website creators, developers, designers, startups, content creators, and digital product sellers. InfiniteMarket can be useful if you want ready-made digital assets, planners, spreadsheets, templates, icons, fonts, and creative bundles for your own projects.
Zee Sharp: Free Productivity Tools Hub
Zee Sharp is a growing suite of free online tools for productivity, development, and creativity. No sign-up. No watermarks. Just tools. Use it when you need quick utilities while creating planners, trackers, content, or digital products.
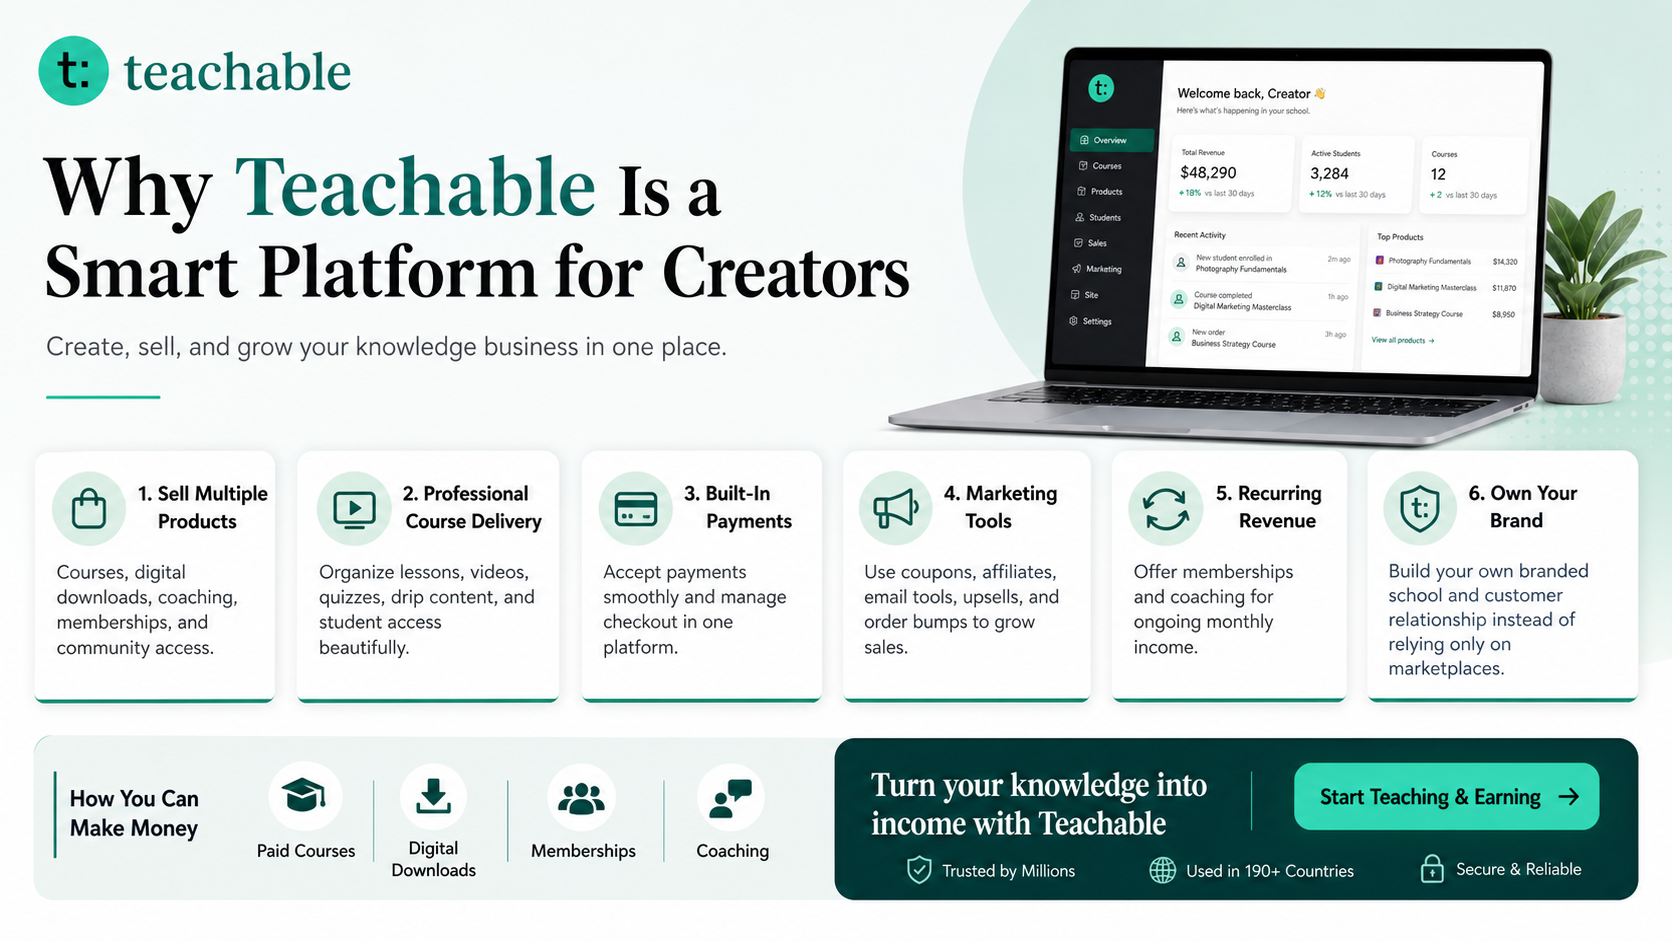
Turn Your Knowledge Into a Digital Business With Teachable
Teachable is an online platform that lets creators build, market, and sell courses, digital downloads, coaching, and memberships. It helps educators and entrepreneurs turn their knowledge into a branded digital business without needing complex coding. If you plan to sell your own budget templates, finance planners, or printable systems, Teachable can be a practical platform to explore.
How to Make Money with Teachable: A Complete Creator’s Guide
How to Customize This Template for Your Life
Customization is where the template becomes yours. If your income is irregular, add an income confidence column. If you share money with a partner, add an owner column. If you manage family costs, add a person or household member column. If you are rebuilding after debt or stress, add a pressure level column so you can identify which items feel emotionally heavy.
You can also add automation. In a spreadsheet, use conditional formatting to highlight due dates within seven days, balances below a safe level, or categories that cross the planned limit. Add drop-down menus for status and priority. Add a monthly summary at the top showing total planned, total actual, difference, and next action. Keep the summary visible so you do not need to scroll to understand the result.
For a printable version, use boxes instead of too many lines. A clean one-page printable can include a top goal, a middle tracking table, and a bottom review section. Leave enough blank space for real notes. Crowded printables look attractive in previews but become frustrating when you actually write on them.
FAQs About Creating a Clothing Budget Tracker
What is a clothing budget tracker?
A clothing budget tracker is a simple planning page that records the most important money details for one specific area. Instead of storing numbers in your head, you put the key facts, limits, due dates, progress, and next actions in one place.
Should I make this clothing budget tracker in a notebook or spreadsheet?
Use the format you will actually update. A notebook is great for quick awareness, while a spreadsheet is better when you want totals, formulas, filters, and monthly comparisons.
How often should I update it?
Update it whenever money moves, then do a short weekly review. For bills, debts, and subscriptions, a monthly review may be enough, but spending trackers work best when entries are added close to the purchase.
What is the biggest mistake beginners make?
The biggest mistake is creating a template with too many categories, colors, tabs, and formulas. A useful template should make the next decision easier, not turn budgeting into a second job.
Can this template help me save money?
Yes, because it makes patterns visible. When you can see budgeted amount, actual cost, need or want, cost per wear, and return window, you can reduce waste, avoid late decisions, plan ahead, and choose where each unit of money should go.
How do I keep using it after the first week?
Attach it to a routine you already have: payday, Sunday evening, bill-paying day, grocery day, or the first day of the month. A template becomes powerful when it becomes a repeatable check-in.
Can I sell my own version of this template online?
Yes, if you design your own original layout, wording, formulas, and branding. Creators often sell planners, budget sheets, and trackers as digital downloads through their own stores, course platforms, and marketplaces.
SEO Keywords and Post Tags
Suggested keywords for this post: budget template, personal finance, money planner, expense tracker, save money, budgeting tips, financial planning, printable planner, clothing, sensecentral.
Further Reading on SenseCentral
- How to Create a Transport Budget Tracker
- How to Create a Kids’ Expense Tracker
- How to Make Money with Teachable: A Complete Creator’s Guide
- More product comparisons, digital tools, and money guides from SenseCentral
References and Helpful External Links
- Consumer Financial Protection Bureau: Budgeting and sticking with a budget
- Consumer.gov: Making a budget
- Federal Trade Commission: How to get out of debt
- NerdWallet: How to budget money
- Investopedia: Emergency fund overview
This guide is educational content and not personal financial advice. Always adapt templates to your income, local rules, lender terms, family responsibilities, and risk level.