
SenseCentral Printable & Digital Product Guide
How to Create a Listing Photo Workbook
A practical, attractive, and conversion-friendly guide to building a useful listing photo workbook that readers can actually use, customize, or sell as a digital product.
Affiliate disclosure: This article may contain sponsored or affiliate links. If you purchase through these links, SenseCentral may earn a commission at no extra cost to you.
- Table of Contents
- Overview: Why a Listing Photo Workbook Is Worth Creating
- Core Pages to Include
- Step-by-Step Creation Process
- 1. Define the buyer or user outcome
- 2. Choose a simple page flow
- 3. Create repeatable sections
- 4. Use prompts that create decisions
- 5. Add examples and micro-instructions
- 6. Design for printing and digital use
- 7. Create a review loop
- 8. Package the final product clearly
- Listing Photo Workbook Format Comparison
- Design and Layout Tips
- Ways to Use or Sell This Workbook
- Useful Digital Product Resource
- Build and Sell Your Knowledge with Teachable
- Zee Sharp Productivity Tools Hub
- Prompt Ideas for Your Listing Photo Workbook
- Common Mistakes to Avoid
- Adding too many pages
- Designing before defining the outcome
- Using vague prompts
- Ignoring instructions
- Making the product hard to preview
- Forgetting the review page
- FAQs
- How many pages should a listing photo workbook include?
- Can I sell a listing photo workbook as a digital product?
- What size should I design it in?
- Should I make it minimal or colorful?
- How do I make the product feel more valuable?
- Can this be used with Teachable?
- Key Takeaways
- Internal Links and Further Reading
- References
Overview: Why a Listing Photo Workbook Is Worth Creating
A good listing photo workbook is not just a stack of pretty pages. It is a small operating system for a specific kind of problem. It gives the user a place to capture thoughts, sort decisions, measure progress, and return to the next action without starting from zero every day. That is why planners, journals, and workbooks continue to work well as printable products, digital downloads, Canva templates, PDFs, Notion-style resources, and companion materials for courses or coaching programs.
This guide is built for Etsy and marketplace sellers who want a product that looks organized, feels calm, and gives the buyer a clear result. The main goal is to plan images, thumbnails, mockups, and visual proof before publishing a listing. When you design around a result instead of random pages, the final product feels more valuable, is easier to explain in a listing description, and is much easier to promote through blog posts, Pinterest pins, email newsletters, and social content.
Before you open Canva, Google Docs, Affinity Publisher, PowerPoint, or any design app, define the promise of the product in one sentence. A strong promise may sound like: “This workbook helps a new seller review one Etsy listing from keyword to photo to customer experience,” or “This journal helps a busy creator end the day with calm reflection and one clear improvement for tomorrow.” That promise becomes the filter for every page you add.
The best version is usually simple. A beginner does not need fifty complicated worksheets. They need a clean starting page, a few repeated tracking pages, one or two reflection prompts, and a review page that turns their notes into action. If you are creating this for your own routine, simplicity helps you stay consistent. If you are creating it as a product, simplicity helps buyers understand the value quickly.
Core Pages to Include
Use the following structure as a starting point for your listing photo workbook. You can make the product smaller for beginners or expand it into a premium bundle later.
| Page or Section | Why It Adds Value |
|---|---|
| Goal and outcome map | Clarifies the exact result the user should reach by the end of the workbook. |
| Audit checklist | Helps the user assess the current situation before making improvements. |
| Planning worksheets | Breaks a complex task into smaller decisions and guided prompts. |
| Comparison table | Makes options easier to evaluate side by side. |
| Action plan page | Turns workbook notes into deadlines, next steps, and measurable outputs. |
Step-by-Step Creation Process
1. Define the buyer or user outcome
Decide exactly what the workbook should help Etsy and marketplace sellers accomplish. Avoid a broad goal like “be productive.” Choose a measurable or emotionally clear result such as “prepare the week in 20 minutes,” “review one listing before publishing,” or “understand why a decision worked or failed.”
2. Choose a simple page flow
Arrange pages in the same order the user will naturally think. Start with clarity, move into planning or reflection, then finish with action and review. A logical page flow makes the product feel professional even when the design is minimal.
3. Create repeatable sections
A strong workbook does not need a different layout on every page. Repeating a few page types lowers friction. Users know where to write, what to check, and how to return to the system tomorrow or next week.
4. Use prompts that create decisions
A beautiful prompt is useful only if it moves the user forward. Replace vague questions with practical prompts: “What is the smallest next step?” “Which option has the highest upside and lowest regret?” “What evidence supports this price?”
5. Add examples and micro-instructions
Beginners often abandon templates because they are unsure what to write. Add tiny examples, sample answers, placeholder text, or one-line instructions. These details increase completion rates and reduce customer confusion.
6. Design for printing and digital use
Leave comfortable margins, use readable font sizes, and avoid backgrounds that waste ink. For digital products, include fillable fields or clean blank spaces where tablet users can write with a stylus.
7. Create a review loop
Every useful system needs a loop. Add a weekly, monthly, or project-end review page so the user can see what worked, what felt heavy, what should be removed, and what should be repeated.
8. Package the final product clearly
If you sell it, include a PDF, a print instruction page, a Canva access guide if relevant, and a short customer support section. Clear delivery improves reviews and lowers support messages.
Listing Photo Workbook Format Comparison
Choosing the format before you design saves time. The table below helps you decide whether this should be a small freebie, a low-ticket printable, a premium workbook, or a companion resource for a course or coaching offer.
| Workbook Style | Best Use Case | What to Include | Best Sales Angle |
|---|---|---|---|
| Audit workbook | Finding gaps before improvement | Scores, checklists, notes, action priorities | Helps users know what to fix first |
| Guided workbook | Teaching a process step by step | Prompts, examples, definitions, worksheets | Makes a complex topic beginner-friendly |
| Strategy workbook | Planning offers, brands, content, or funnels | Research pages, positioning, comparison grids | Turns ideas into a clear plan |
| Implementation workbook | Getting tasks done | Checklists, deadlines, trackers, review sheets | Moves users from planning to publishing |
Design and Layout Tips
The visual design should make the listing photo workbook easier to use, not just prettier. Start with one font for headings, one readable font for body text, and a limited color palette. Use boxes, dividers, checklists, and white space to show the user where to write. If every page uses a different style, the product may look busy and amateur. If every page uses the same structure with thoughtful variation, the product feels premium and calm.
For printable products, test one page in black and white before finishing the whole file. Light gray lines, small decorative text, and pale background colors may disappear when printed. For digital products, zoom out and check whether the page hierarchy is still obvious on a tablet screen. Good templates work at normal viewing size; the user should not need to pinch and zoom constantly.
Keep the cover page benefit-driven. Instead of only writing the product name, add a short subtitle that explains the result. For example, a listing photo workbook can promise clearer choices, calmer planning, better listing reviews, stronger routines, or faster product creation. This subtitle also becomes useful in Etsy thumbnails, Pinterest pins, Gumroad-style product pages, and blog images.
Branding details that make it feel premium
Add small details such as page numbers, section labels, short instructions, a consistent footer, and a final “next step” page. These details do not take much design time, but they make the product feel complete. If the product is editable in Canva, include a welcome page with instructions, font notes, print size information, and customer support guidance.
Ways to Use or Sell This Workbook
You can use this listing photo workbook as a personal tool, a client resource, a lead magnet, a low-ticket Etsy product, a bonus inside a digital product bundle, or a course companion. The key is to match the depth of the product to the promise. A freebie should create one quick win. A paid workbook should help the buyer work through a complete problem from start to finish. A premium bundle should include multiple formats, examples, and support pages.
If you are publishing it as a product, create one listing image that shows the cover, one that shows inside pages, one that explains the benefits, and one that answers common questions. For a blog post, add screenshots or mockups that show how the system works. For Pinterest, turn each core section into a pin idea: “5 pages to include,” “beginner mistakes,” “before-and-after workflow,” and “how to use it in 20 minutes.”
You can also repurpose the same idea into several products. A simple listing photo workbook can become a printable PDF, a Canva template, a digital planner page, a mini workbook, a Notion checklist, a course worksheet, an email challenge, and a blog content upgrade. This is how one good idea becomes a small product ecosystem instead of a single file.
Useful Digital Product Resource
[Explore Our Powerful Digital Products Bundle] Browse these high-value bundles for website creators, developers, designers, startups, content creators, and digital product sellers. Use them for inspiration, website assets, template packs, product mockups, and faster digital product creation.
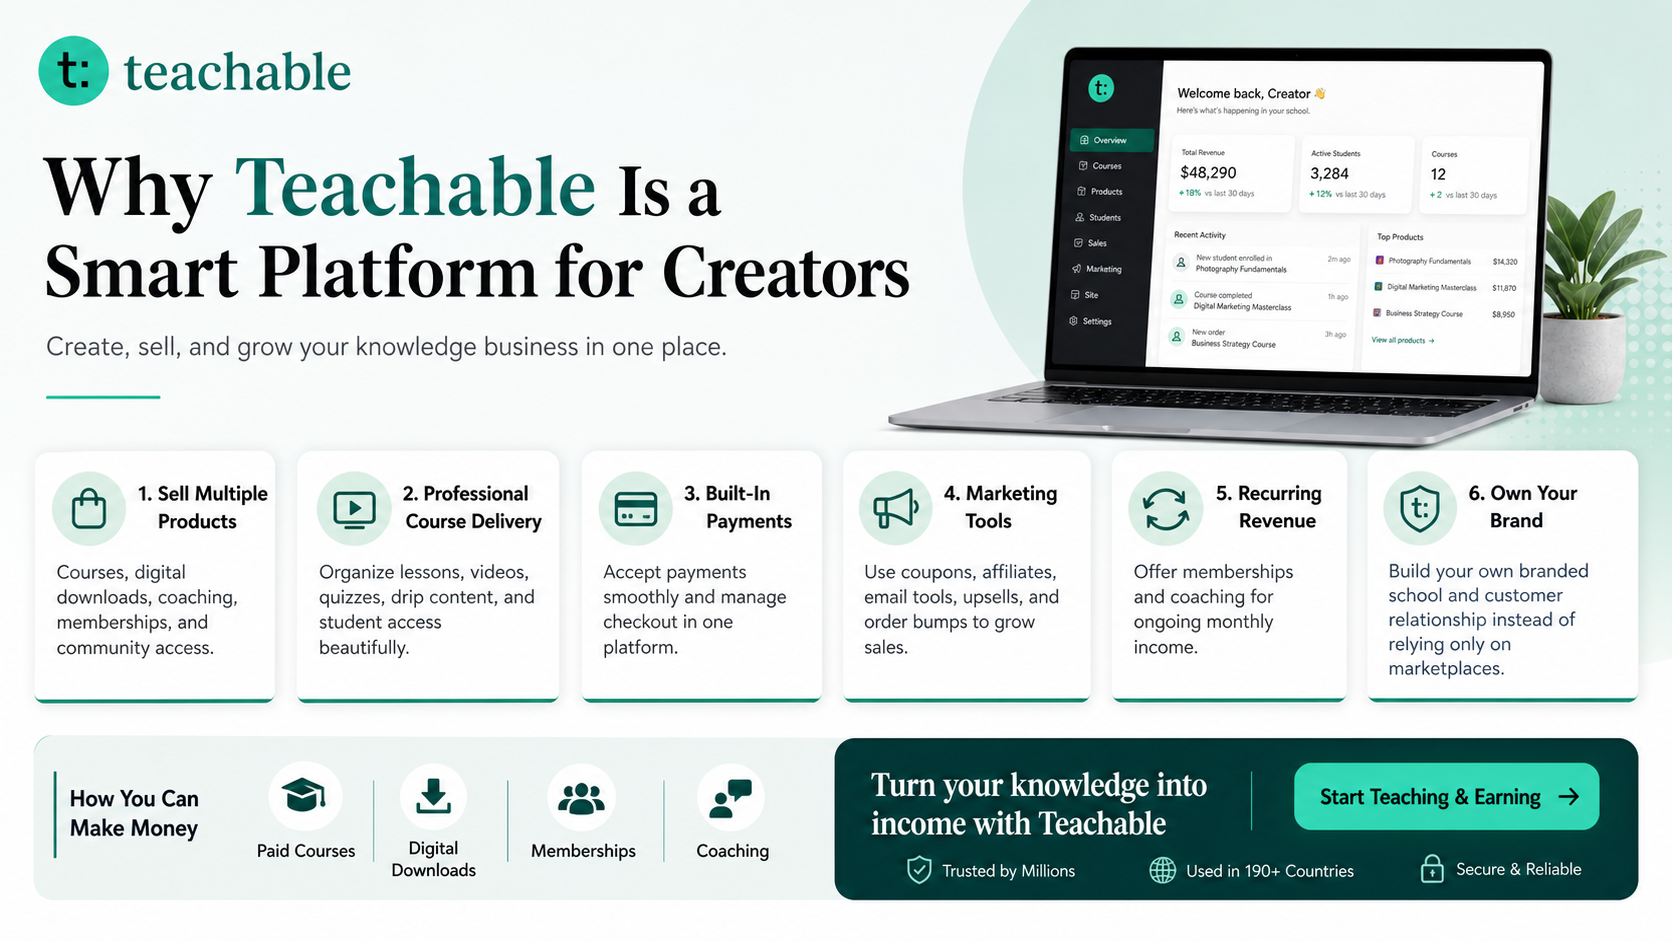
Build and Sell Your Knowledge with Teachable
Teachable is an online platform that lets creators build, market, and sell courses, digital downloads, coaching, and memberships. It helps educators and entrepreneurs turn their knowledge into a branded digital business without needing complex coding.
Learn more: How to Make Money with Teachable: A Complete Creator’s Guide
Zee Sharp Productivity Tools Hub
Zee Sharp is a growing suite of free online tools for productivity, development, and creativity. No sign-up. No watermarks. Just tools. Use it when you need quick calculators, productivity helpers, writing utilities, developer tools, or creative workflow support.
Prompt Ideas for Your Listing Photo Workbook
Prompts give the product life. Use these as page titles, journaling questions, worksheet prompts, content ideas, or checklist labels.
- What is the exact outcome of this workbook?
- What does the user already know before starting?
- What decision must be made on this page?
- What example would reduce confusion?
- What checklist can prevent mistakes?
- What comparison helps the user choose?
- What action should happen after this section?
- What proof shows progress?
- What support note belongs here?
- What bonus page would increase value?
Common Mistakes to Avoid
Adding too many pages
More pages do not always create more value. Remove pages that repeat the same question or do not lead to a decision.
Designing before defining the outcome
A beautiful product can still feel confusing if the user does not know what it helps them achieve.
Using vague prompts
Prompts should be specific enough to help a tired beginner answer quickly.
Ignoring instructions
Include print size, recommended use, editing notes, and support information.
Making the product hard to preview
If selling online, show clear mockups and explain the pages in plain language.
Forgetting the review page
A review page creates progress. Without it, the user may fill pages but not learn from them.
FAQs
How many pages should a listing photo workbook include?
For beginners, 8 to 20 well-planned pages is often enough. For a premium workbook, you can expand to 30 to 80 pages if every page has a clear purpose, examples, and a logical flow.
Can I sell a listing photo workbook as a digital product?
Yes, if you create original content, use properly licensed design elements, and explain exactly what the buyer receives. Add PDF files, print instructions, and editable Canva links only when you have the right to share them.
What size should I design it in?
Letter and A4 are the safest printable sizes. Many creators include both. For digital use, a landscape tablet-friendly version can be added as a premium bonus.
Should I make it minimal or colorful?
Minimal layouts usually work best for productivity, planning, and reflection because they reduce distraction. Use color for section labels, highlights, and visual hierarchy rather than heavy backgrounds.
How do I make the product feel more valuable?
Add examples, instructions, checklists, review pages, bonus trackers, and multiple formats. Value comes from clarity and usefulness, not just page count.
Can this be used with Teachable?
Yes. You can use a workbook, journal, or planner as a course companion, coaching worksheet, downloadable resource, or membership bonus inside a Teachable-powered digital business.
Key Takeaways
- A strong listing photo workbook starts with a clear outcome, not a random page list.
- Use repeatable layouts, practical prompts, and review pages to improve completion.
- Add examples and micro-instructions so beginners know exactly what to write.
- Design for both printable and digital use when possible.
- If selling online, package the files clearly and show the inside pages in your listing images.
- Use affiliate resources and helpful tools naturally where they support the reader’s next step.
Internal Links and Further Reading
- SenseCentral home
- More printable planner ideas on SenseCentral
- More digital product guides on SenseCentral
- How to Make Money with Teachable: A Complete Creator’s Guide
- Teachable official platform overview
- Google Search Central SEO Starter Guide
- WordPress Importer plugin
- Etsy Seller Handbook
- Etsy SEO help for shop and listing pages
- Etsy product photography guide
References
- Google Search Central SEO Starter Guide. Available at: https://developers.google.com/search/docs/fundamentals/seo-starter-guide
- WordPress Importer plugin. Available at: https://wordpress.org/plugins/wordpress-importer/
- Etsy Seller Handbook. Available at: https://www.etsy.com/seller-handbook
- Etsy SEO help for shop and listing pages. Available at: https://help.etsy.com/hc/en-us/articles/115015663987-Search-Engine-Optimization-SEO-for-Shop-and-Listing-Pages
- Etsy product photography guide. Available at: https://www.etsy.com/seller-handbook/article/the-ultimate-guide-to-product/143986679284
