
How to Create Etsy Product Images That Show File Types
A practical, stylish, and buyer-focused guide for Etsy digital product sellers who want clearer listings, better products, and a repeatable growth system.
Your Etsy images are not only decoration. They are the fastest way to explain what the buyer gets, why it matters, how it works, and why your shop feels safer than a random download link.
How to Create Etsy Product Images That Show File Types is a practical skill every printable seller, Canva template seller, digital planner creator, and product bundle seller should learn. On Etsy, shoppers often skim images before reading the full description. A clear image sequence can answer questions about value, file format, size, editing, printing, bundle contents, and expected results before the buyer has to message you. That means better buyer confidence, fewer repetitive support questions, and a listing that feels more professional.
This guide is written for Sensecentral readers who review, compare, and build digital products. The goal is not to create flashy graphics for the sake of design. The goal is to create listing images that make the product easier to understand. When each slide has one job, shoppers can quickly decide whether your product solves their problem. A printable budget binder, for example, needs different proof than a Canva social media template. A wall art download needs size and printing clarity. A workbook needs screenshots of page variety and the transformation it helps create.
Etsy’s own image guidance recommends using strong listing images and, where possible, photos with width and height of at least 2000 pixels. That matters because blurry screenshots, tiny mockups, and crowded text can make a digital product feel low quality. For digital listings, image clarity also protects your customer experience because shoppers cannot touch the product before buying. Your visuals must do the explaining that packaging would normally do in a physical product store.
Build and Sell Digital Products Faster
Want to speed up your product creation process? Use these creator resources while planning, designing, validating, and improving your Etsy digital products.
Explore Our Powerful Digital Products Bundle Visit Zee Sharp Free Tools Hub
Explore Our Powerful Digital Products Bundle: Browse high-value bundles for website creators, developers, designers, startups, content creators, and digital product sellers.
Zee Sharp: A growing suite of free online tools for productivity, development, and creativity. No sign-up. No watermarks. Just tools.
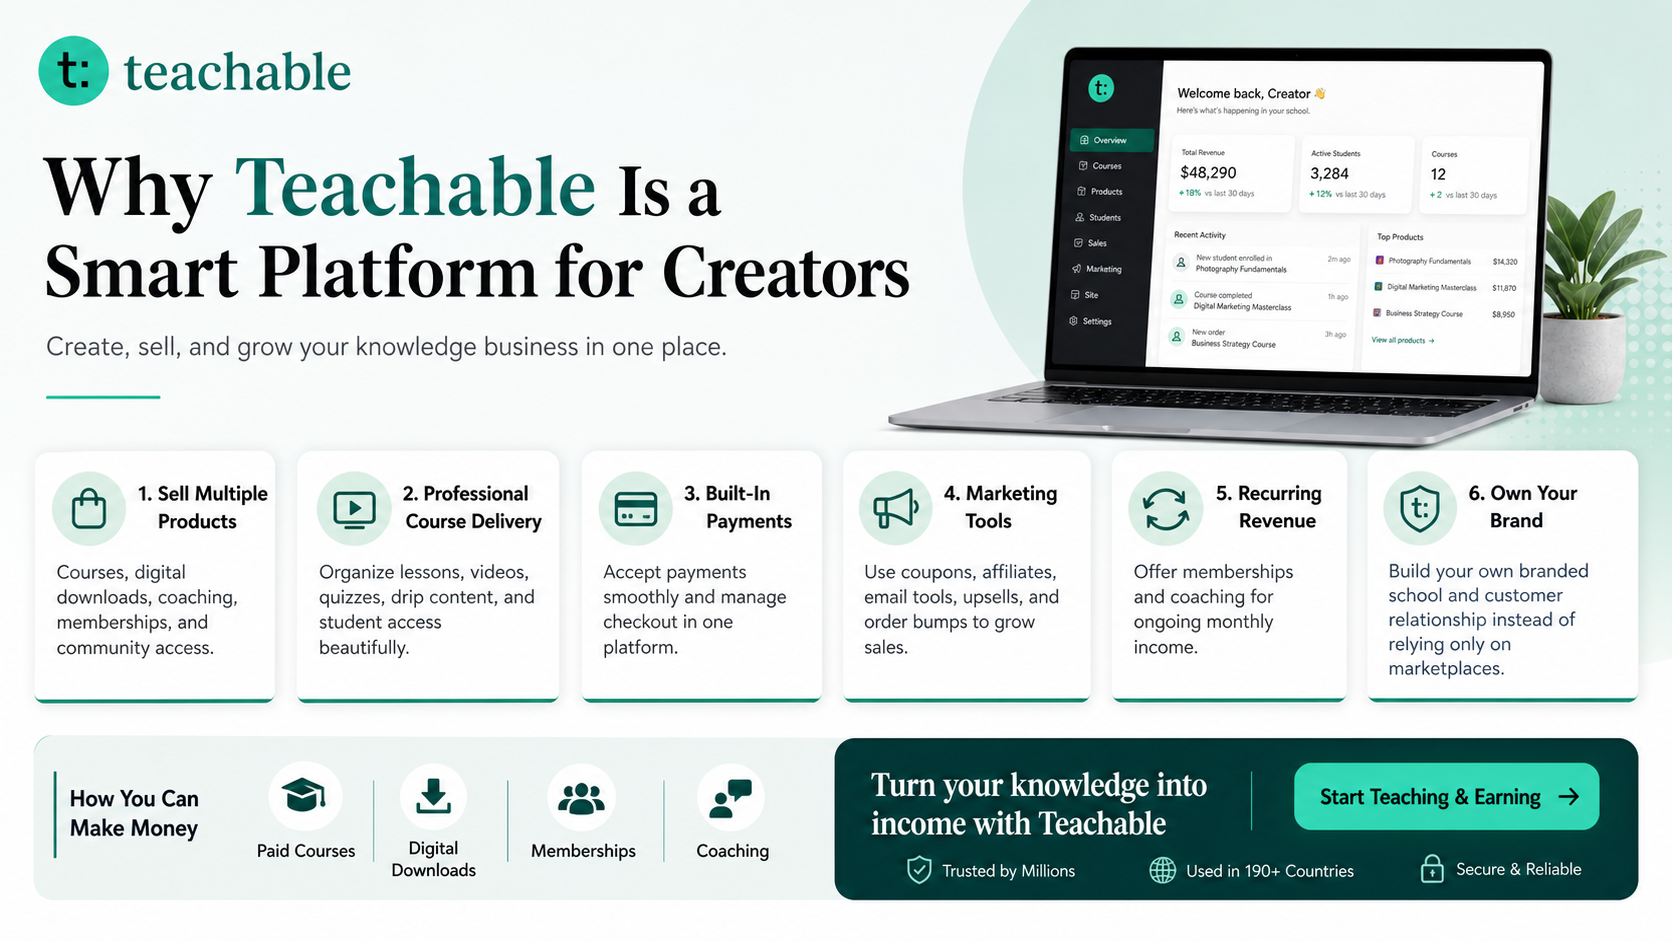
Recommended Platform: Teachable for Courses, Downloads, Coaching, and Memberships
Teachable is an online platform that lets creators build, market, and sell courses, digital downloads, coaching, and memberships. It helps educators and entrepreneurs turn their knowledge into a branded digital business without needing complex coding.
How to Make Money with Teachable: A Complete Creator’s Guide
Watch: How to Create a Course with Teachable
Table of Contents
Why Create Etsy Product Images That Show File Types Matters
Digital product buyers make decisions with limited information. They cannot flip through every page, test every file, or ask every question before checkout. Your job as a seller is to reduce uncertainty. When your product, listing, images, instructions, and support system work together, the buyer feels guided instead of confused.
This matters even more for competitive Etsy categories. A shopper may compare five similar products in a few minutes. The product that communicates value fastest often feels safer. Clear communication does not mean shouting with bigger fonts. It means showing the right details at the right time. For example, a buyer looking for a printable teacher planner wants to know whether the pages match their classroom routine. A buyer looking for Canva templates wants to know whether the templates are editable and easy to customize. A buyer looking for a business workbook wants to know whether the prompts will help them make progress.
Strong sellers also use every listing as a learning tool. If a buyer asks a question, that question may need an FAQ. If a review praises a specific benefit, that phrase may belong in a listing image. If a product gets favorites but few purchases, the offer may need clearer proof. If a bestseller keeps selling, it may deserve a product family. Every signal can become a better product decision.
The Strategy: Give Every Image One Job
The biggest mistake in Etsy product image design is trying to say everything on every slide. A stronger image set works like a sales conversation. The first image earns attention. The second explains the product promise. The third proves what is included. The next images answer practical questions. The final image reduces risk and directs shoppers to the next step.
For this topic, the main job is to show file types. That means your image should not simply say “high quality” or “easy to use.” It should show evidence. If you want to explain value, compare the buyer’s current problem with the organized result your product creates. If you want to reduce questions, display file types, delivery steps, and usage permissions. If you want to show results, use realistic before-and-after examples. If you want to show printing steps, make the process visible in three to five simple icons.
Think of each listing image as a mini FAQ, a mini demo, or a mini proof point. The image does not need to be overloaded with text. Use short labels, bold headers, clean mockups, zoomed details, and enough white space. Buyers should understand the main message even on a mobile screen.
The ideal Etsy image sequence
- Image 1: Clear product promise, product type, and main outcome.
- Image 2: What is included, page count, file types, sizes, or template access.
- Image 3: Product preview with realistic mockups or screenshots.
- Image 4: Step-by-step usage, editing, downloading, or printing process.
- Image 5: Benefit proof, before-and-after result, or use case examples.
- Image 6: Trust builder such as support note, compatibility reminder, or refund-prevention clarity.
Step-by-Step Process
1. Define the one buyer question your image must answer
Before opening Canva or any design tool, write the exact buyer question. Examples include: “What do I get?”, “Can I edit this?”, “Will it print correctly?”, “Is it beginner friendly?”, “What size is the file?”, and “How will this help me?” A focused question creates a focused image.
2. Choose the right proof format
Some questions need a screenshot. Some need a comparison table. Some need a mockup. Some need a process diagram. Choose the format that explains fastest. For digital products, zoomed-in screenshots often work better than decorative mockups because buyers want to inspect page quality.
3. Write short text for mobile readers
Use one headline, one subheading, and three to five small labels. Avoid paragraphs inside images. Your listing description can explain details. The image should create quick understanding.
4. Use consistent visual structure
Keep the same margins, type scale, colors, and badge style across all images. Consistency makes your shop look more trustworthy. It also makes future products faster to design because you can reuse the same image templates.
5. Test the image as a buyer
View the image on your phone. Ask whether the main message is clear in three seconds. If not, remove clutter, enlarge the product screenshot, or rewrite the headline.
Helpful Planning Table
| Image type | Purpose | What to include | Avoid |
|---|---|---|---|
| Hero image | Communicate the main promise | Product name, outcome, clean mockup | Too much text or vague headline |
| What’s included | Show value and contents | Page count, file types, bonuses, sizes | Hiding important details in description only |
| How it works | Reduce buyer hesitation | Download, edit, print, use steps | Assuming buyers know the process |
| Proof image | Show result or transformation | Before/after, use case, filled example | Only showing blank pages |
| Trust image | Reduce risk | Compatibility, support note, usage rights | Overpromising or unclear license |
Practical Examples for Digital Product Sellers
Printable planner example: Instead of showing one cover mockup, create a slide that says “Plan your week in 10 minutes” and show three pages: weekly dashboard, habit tracker, and review page. Use small labels to explain when each page is used. This explains value better than a stack of tiny thumbnails.
Canva template example: Show the editing process with numbered steps: click template link, customize text and colors, download as PDF or PNG, and publish or print. This reduces fear for beginners who are not sure whether they can edit the file.
Wall art example: Show size ratios, room mockups, and file format details. A buyer should know whether the download supports 4:5, 3:4, 2:3, A-series, or square prints. This prevents disappointment after purchase.
Bundle example: Use a contents map. Group items into sections such as planners, templates, checklists, trackers, and bonus instructions. A bundle can look overwhelming unless the image organizes it for the buyer.
Workbook example: Show a filled sample, not only blank pages. Buyers want to understand the result. A filled example demonstrates how the workbook helps them think, plan, reflect, or make a decision.
Quality Checklist
- The main message is readable on mobile.
- The image answers one buyer question clearly.
- Screenshots match the delivered product.
- File types, sizes, and editing requirements are not hidden.
- Mockups are realistic and do not exaggerate results.
- Text contrast is strong and accessible.
- The slide sequence removes confusion before the buyer messages you.
Common Mistakes to Avoid
Overloading every image
Use one headline, one proof point, and one visual focus per slide.
Using mockups that hide the actual product
Combine lifestyle mockups with zoomed screenshots so buyers can inspect details.
Forgetting file and size details
Create a dedicated technical details image for digital products.
Making images pretty but not persuasive
Tie every image to a buyer question, objection, or desired result.
Ignoring mobile readability
Preview images on a phone before publishing.
Recommended Resources for This Workflow
Use a practical toolkit rather than trying to manage everything manually. A spreadsheet can track buyer questions, product updates, search terms, and review phrases. Canva can help you create repeatable image and instruction templates. Zee Sharp can support quick productivity, development, and creative tasks. The Sensecentral digital product bundle resource can help creators explore ready-made product assets and inspiration for websites, design projects, and digital product shops.
Explore Our Powerful Digital Products Bundle Open Zee Sharp Tools Try Teachable
If you want to move beyond single Etsy listings, Teachable can be useful for packaging your knowledge into paid digital downloads, mini courses, workshops, coaching, or memberships. For example, a seller who creates budgeting printables could later build a budgeting mini course. A seller who creates Canva templates could teach customers how to customize them. A seller who builds planner systems could turn the method into a paid training product.
Internal Links and Further Reading
Digital product business guides
Canva template ideas and tutorials
Printable product planning articles
Product bundle strategy posts
How to Make Money with Teachable
Useful external resources
- Etsy image requirements and best practices
- Etsy digital listing file guidance
- Etsy Stats help
- Pinterest Trends
- Teachable digital downloads
FAQs
Who is this guide for?
This guide is for Etsy sellers, printable creators, Canva template designers, digital planner sellers, workbook creators, wall art sellers, and digital product shop owners who want a practical way to create etsy product images that show file types.
How often should I update an Etsy digital product?
Review important listings at least monthly and update whenever repeated buyer questions, reviews, search terms, refund reasons, or seasonal demand show a clear pattern.
Should I use the same process for every product?
Use the same framework, but adapt the details. A wall art file needs size and print checks, while a Canva template needs editing and access checks.
Can better images reduce customer messages?
Yes. Images that explain file types, sizes, editing steps, printing steps, contents, and usage limits can answer questions before buyers need to contact you.
Do I need expensive software?
No. You can use Canva, spreadsheets, Google Docs, free online tools, and simple templates. The system matters more than the software.
Where should affiliate resources fit in the post?
Place affiliate resources where they genuinely help the reader take the next step, such as creating digital downloads, building a course, using productivity tools, or exploring product bundles.
Key Takeaways
- Etsy listing images should explain, prove, and reduce risk, not only decorate the listing.
- Each image should answer one buyer question.
- Mobile readability is essential for digital product images.
- Show contents, file types, size, editing, printing, results, and trust signals where relevant.
- A reusable image process makes future listings faster and more consistent.
References
- Etsy Help: Requirements and Best Practices for Images in Your Etsy Shop.
- Etsy Help: How to Manage Your Digital Listings.
- Etsy Help: How to Use Etsy Stats for Your Shop.
- Etsy Seller Handbook: The Ultimate Guide to Etsy Search.
- Pinterest Business Help: Browse Pinterest Trends.
- Teachable: Create and Sell Digital Downloads.
