How to Create Mug Designs for Print-on-Demand
How to Create Mug Designs for Print-on-Demand is a practical topic for anyone who wants to build income outside a full-time job without making the process confusing, risky, or expensive. The best beginner approach is not to chase every viral idea. It is to choose one focused offer, learn how buyers make decisions, and build a simple repeatable system around it.
This guide is written for Sensecentral readers who want realistic side-hustle advice, product comparison thinking, and clear steps before investing time or money. The goal is to help you understand how to start, what to compare, which mistakes to avoid, and how to turn a small experiment into a weekend-friendly income stream.
Beginner rule: focus on giftable mug designs and repeatable templates, measure gift-season conversion, and build around mugs for offices, teachers, families, and hobby groups. That combination keeps your side hustle practical instead of random.
Key Takeaways
- Use giftable mug designs and repeatable templates before uploading many designs.
- Begin with a small catalog of 10 to 20 designs instead of opening dozens of random products.
- Check trademarks, copyrights, product quality, shipping times, and mockups before spending money on ads.
- Track base cost, platform fee, payment fee, ad cost, and returns before deciding whether a product is profitable.
Quick Start Summary
If you are starting from zero, treat this as a small business experiment. Your first target is not to build a perfect brand, open every platform, buy every tool, or publish hundreds of listings. Your first target is to prove that a specific type of customer cares about a specific offer enough to click, ask questions, join a session, or buy.
For how to create mug designs for print-on-demand, begin by defining the buyer in one sentence. A weak definition is “everyone who wants to earn or shop online.” A stronger definition is “busy parents who want printable study routines,” “new dog owners who want funny pet mugs,” “college students who need math revision help,” or “remote workers who want productivity coaching.” A sharper buyer makes your title, design, pricing, photos, lesson plan, and marketing easier.
Next, create a one-page plan. Write the offer, price, delivery method, refund policy, tools, weekly time limit, and the first ten places you will promote it. This one-page plan prevents random action. Beginners often fail because they keep changing ideas before the market has a chance to respond. A simple plan gives you enough structure to test the idea for two to four weeks.
Who This Is Best For
This side hustle is best for people who can work consistently in small blocks of time. You do not need to quit your job, rent an office, or become a full-time entrepreneur immediately. You need a few focused hours each week for research, creation, listing, teaching, customer support, or improvement. That is why this model works well for students, working professionals, parents, freelancers, creators, and people testing online income for the first time.
It also suits people who are willing to learn from small data. A beginner may not know which product, class, niche, or design will work at the start. The smarter approach is to publish a small test, watch clicks and feedback, and improve based on evidence. If buyers ignore an offer, that is not always failure. It may mean the title is unclear, the photo is weak, the price is wrong, the niche is too broad, or the benefit is not obvious enough.
Print-on-demand suppliers usually handle printing and fulfillment after a customer orders, but you still own the responsibility for product choice, design quality, pricing, and customer expectations. This is why your first month should be about learning the system, not just earning money. When you understand what buyers trust, what questions they ask, and where your workflow gets slow, you can build a better side hustle with less stress.
Step-by-Step Launch Plan
Step 1: Pick One Clear Buyer and One Clear Problem
Start by narrowing the audience. Instead of trying to serve everybody, choose one buyer group with a problem they already understand. Good beginner markets usually have visible demand, repeated needs, and emotional motivation. For example, gift buyers want something personal, students want progress, store owners want better assets, and busy professionals want saved time.
Step 2: Study Existing Offers Before Creating Yours
Look at marketplaces, search results, social posts, product reviews, and competitor listings. Do not copy designs, text, course material, or brand names. Instead, study patterns. Notice what customers praise, what they complain about, what details sellers include, and what makes the best listings feel trustworthy. This research tells you how to position your own offer more clearly.
Step 3: Build a Minimum Sellable Version
Your first version should be simple enough to finish. For print-on-demand business, a minimum sellable version may be a small product collection, one tutoring package, a mini course outline, a product listing set, or a single weekend store. Use the assets you already have, then improve after real feedback. Beginners waste weeks trying to perfect logos, colors, dashboards, and automation before proving demand.
Step 4: Create Trust Before Asking for the Sale
Trust comes from clarity. Explain who the offer is for, what is included, what is not included, how delivery works, when customers can expect results, and what they should do after buying. Use screenshots, examples, short videos, samples, FAQs, and honest limitations. A clear offer may look less flashy than a hyped promise, but it converts better because buyers understand it.
Step 5: Review Results Weekly
Every week, check your numbers. Track views, clicks, messages, saves, carts, sales, refunds, reviews, and time spent. The most important question is not “Did I become successful immediately?” The better question is “What did the market teach me this week?” When you review results calmly, you can improve titles, pricing, examples, photos, scripts, or lessons without burning out.
Helpful Comparison Table for How to Create Mug Designs for Print-on-Demand
A comparison table helps you avoid vague planning. Use the table below to choose the simplest starting route and understand where beginners usually lose money, time, or confidence.
| Product Type | Beginner Advantage | Main Risk | Smart First Move |
|---|---|---|---|
| T-shirts and hoodies | Easy to understand, broad demand, many mockups | Competition is high; niche clarity matters | Start with 5–10 designs for one audience |
| Mugs and drinkware | Gift-friendly and suitable for quotes or simple art | Breakage, shipping cost, and seasonal spikes | Create sets for occupations, hobbies, and events |
| Wall art and posters | Strong visual appeal and good bundle potential | Requires better mockups and style consistency | Build collections by room, mood, or theme |
| Tote bags and accessories | Useful, lightweight, and easy to test | Design placement must look premium | Use minimalist designs and lifestyle mockups |
Pricing and Profit Planning
Pricing should never be a guess. A price that feels attractive to buyers can still be bad for you if fees, shipping, revisions, refunds, or preparation time are ignored. A beginner-friendly price is one that customers understand and that leaves enough margin for you to keep going. When pricing feels stressful, it usually means the offer is too broad, the costs are hidden, or the buyer does not understand the value yet.
| Cost Area | What to Include |
|---|---|
| Base product cost | Supplier production cost before your markup |
| Shipping | Customer-paid or seller-paid delivery cost |
| Platform/payment fees | Marketplace fee, card fee, app fee, or transaction fee |
| Advertising | Any paid traffic cost needed to get the order |
| Profit | Selling price minus all costs and expected refunds |
Use a simple profit formula before publishing: selling price − direct costs − platform fees − payment fees − estimated support cost = estimated profit. If the profit is too small, do not automatically raise the price without improving value. Instead, review whether you can simplify delivery, bundle related items, improve the product page, reduce unnecessary costs, or target a buyer who values the outcome more.
For service-based offers, include preparation and follow-up time. A one-hour tutoring session may require 20 minutes of planning and 10 minutes of recap notes. A resume coaching package may require research, document review, and revisions. A course may take many hours upfront but can be sold repeatedly. Pricing becomes easier when you understand the complete workload.
Marketing Plan for the First 30 Days
During the first 30 days, your marketing should be simple and repeatable. Publish useful content that proves you understand the buyer. This can include before-and-after examples, short tips, niche checklists, product comparisons, study tips, behind-the-scenes creation posts, customer questions, or small educational threads. The purpose is not to go viral. The purpose is to build trust with the exact people who might buy.
Use search-friendly titles. A good title explains what the buyer gets, who it is for, and why it matters. Avoid clever titles that hide the benefit. For ecommerce listings, include product type, audience, use case, material, size, or occasion. For tutoring and coaching offers, include subject, level, outcome, session format, and who it is designed for.
Repurpose your content. One product comparison can become a blog post, Pinterest pin, Instagram carousel, marketplace description, email, and FAQ. One tutoring lesson can become a short tip, downloadable worksheet, mini course outline, and student recap. Repurposing saves time and helps you look consistent even when you only work on weekends.
Build a small internal link structure on your own website. For example, you can connect this article with other Sensecentral guides such as How to Create Mug Designs for Print-on-Demand, your Teachable creator guide, and related ecommerce or tutoring side-hustle posts. Internal links help readers continue learning and help your content cluster feel organized.
Related Reading on Sensecentral
Mistakes to Avoid
Trying Too Many Ideas at Once
The first mistake is opening too many products, platforms, classes, or services at the same time. This creates busy work without clear learning. Choose one lane for the first test. When you know what works, expand carefully.
Ignoring Rules, Rights, and Customer Expectations
Do not use copyrighted images, brand names, celebrity names, protected slogans, copied course material, misleading claims, or fake scarcity. Do not promise guaranteed income, guaranteed exam results, instant fitness transformations, or unrealistic delivery times. Trust is an asset. Protect it from the beginning.
Underpricing Because You Are New
Beginners often charge too little because they feel inexperienced. A starter price is fine, but it should still respect your time and costs. If you price too low, you may attract difficult customers, rush delivery, skip quality checks, or burn out before the side hustle has a chance to grow.
Not Documenting the Workflow
Write down every step: research, creation, listing, order handling, lesson planning, delivery, follow-up, and review. Documentation makes your side hustle easier to repeat. It also helps when you later outsource design, editing, support, or administrative tasks.
Spending on Ads Before the Offer Is Clear
Paid ads can help, but they cannot fix a confusing offer. Before spending money, make sure the title, image, description, price, proof, and checkout process are strong. If organic visitors do not understand the offer, paid visitors probably will not understand it either.
A Simple Weekend Workflow
Friday evening: review analytics, messages, competitor notes, and customer questions. Choose one improvement for the weekend. Do not attempt to rebuild everything.
Saturday: create or improve the core asset. This could mean new product photos, a product description rewrite, a lesson plan, a course module, a design set, a niche research sheet, or a customer-service template.
Sunday: publish, promote, and document. Add internal links, schedule social posts, update your spreadsheet, reply to questions, and write down what you learned. This routine turns scattered work into a manageable system.
Over time, your weekend workflow becomes a business asset. You will know what to do when you have two hours, what to improve when sales are slow, and which tasks actually move the side hustle forward.
Useful Resources for Building This Side Hustle
Explore Our Powerful Digital Products
Browse these high-value bundles for website creators, developers, designers, startups, content creators, and digital product sellers. Use them to speed up design work, listing creation, branding, content planning, and digital product experiments.
Zee Sharp Free Productivity Tools
Zee Sharp is a growing suite of free online tools for productivity, development, and creativity. No sign-up. No watermarks. Just tools. It is helpful for calculators, quick utilities, text work, planning, and creator workflows.
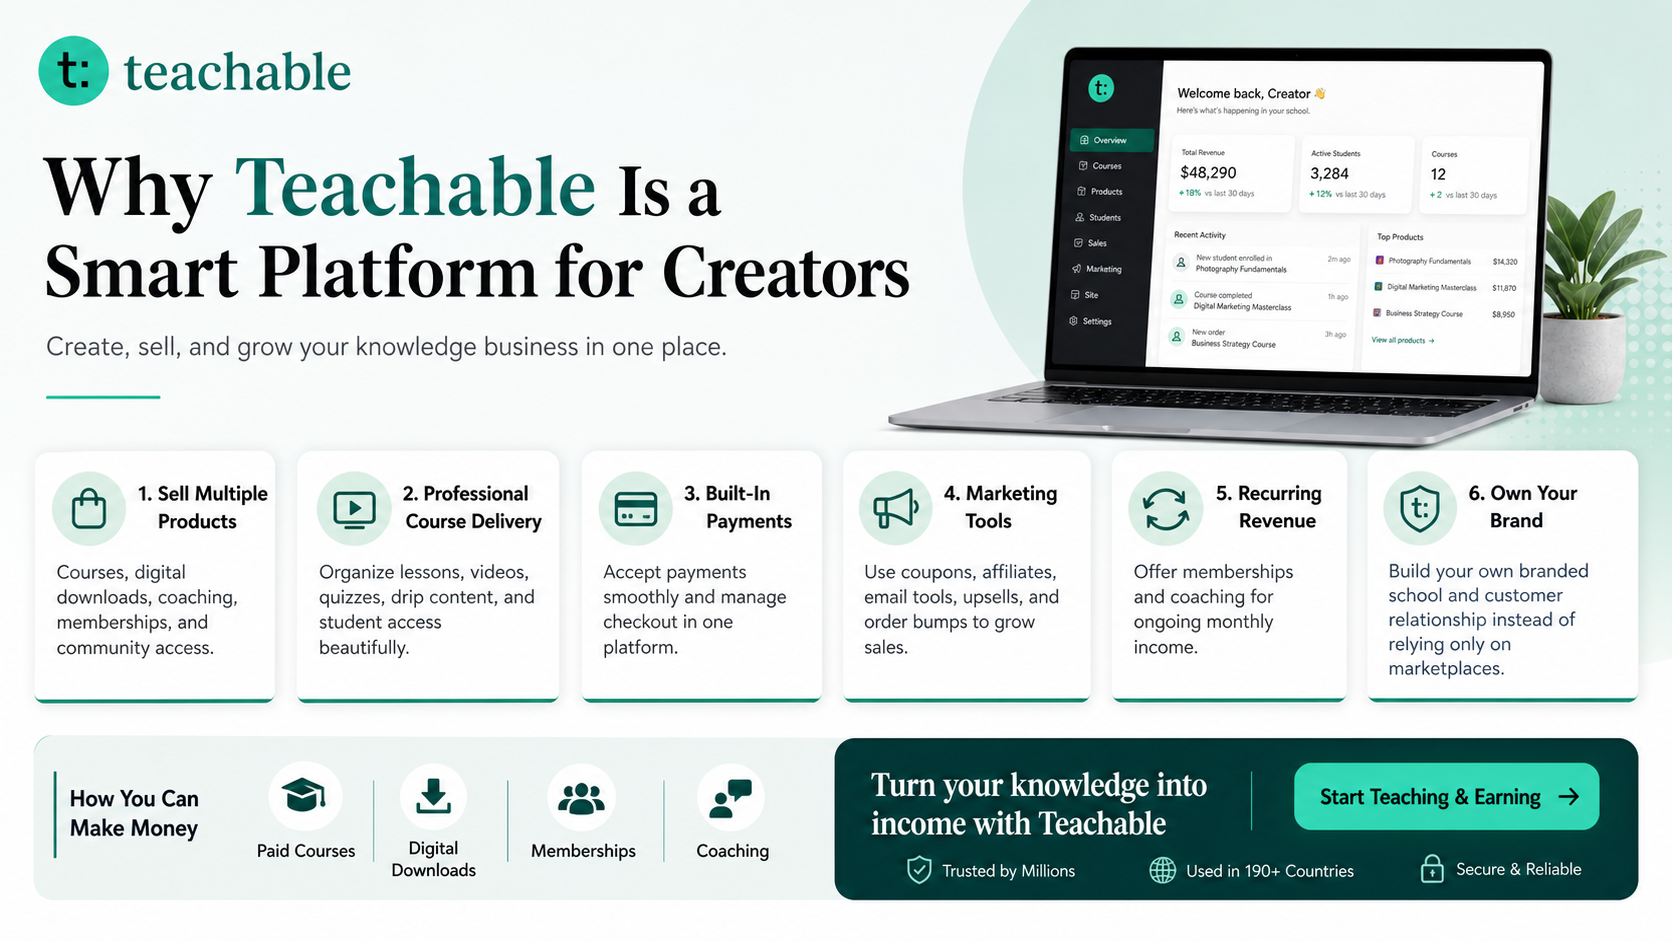
Recommended Platform: Teachable
Even if your main side hustle is ecommerce, Teachable can help you sell digital guides, design packs, templates, product photography checklists, or niche research mini courses alongside your physical products.
How to Make Money with Teachable: A Complete Creator’s Guide
Affiliate disclosure: This post may contain affiliate links. If you buy through these links, Sensecentral may earn a commission at no extra cost to you.
FAQs
Is how to create mug designs for print-on-demand good for beginners?
Yes, it can be beginner-friendly because you can test designs without buying inventory first. The important rule is to start with a small catalog, order samples where possible, and avoid copyrighted or trademarked designs.
How much money do I need to start?
You can start with a small budget for mockups, samples, listing fees, and basic design tools. Paid ads are optional and should come only after you know which designs receive clicks, saves, and small organic interest.
Do I need design skills?
Professional design skills help, but beginners can start with simple typography, clean layouts, and niche-specific messages. The real skill is understanding the buyer and creating designs that feel relevant to that buyer.
Should I sell on a marketplace or my own store?
A marketplace can help you test faster because buyers are already searching there. Your own store gives more brand control but needs traffic, trust, payment setup, and marketing work.
What is the biggest mistake to avoid?
The biggest mistake is uploading random designs without checking demand, trademarks, product quality, and profit. A focused niche with fewer strong products is better than a large weak catalog.