
How to Write Planner Tutorials for Blog Traffic
If you sell digital planners, your blog should do more than fill space on your website. It should answer the exact questions buyers ask before they download, edit, print, customize, or purchase a digital product. How to Write Planner Tutorials for Blog Traffic is a practical system for turning search traffic into useful education, email subscribers, affiliate clicks, and product sales without sounding aggressive or spammy.
For SenseCentral readers, the best blog strategy is simple: publish content that solves one clear buyer problem, include examples that feel real, and guide the reader toward the next helpful action. That next action might be reading a related tutorial, opening a free resource, comparing a product bundle, trying a creator platform, or visiting an Etsy listing. When every article has a job, your blog becomes a traffic asset instead of a random collection of posts.
This guide is written for planner sellers who want a stylish, search-friendly, and sales-friendly post structure. You can use it to plan one article, build a full content cluster, or create a repeatable publishing workflow for a digital product website.
Why This Topic Matters
Most planner sellers make the same mistake: they write only about the product they want to sell. Search engines and readers usually reward a broader approach. Your blog should cover the before, during, and after moments around the purchase. Before buying, readers compare options, search for ideas, ask whether a template works for their situation, and look for examples. During the buying process, they want file format explanations, screenshots, usage instructions, printing tips, editing steps, and confidence that the product will save time. After buying, they need implementation guidance, troubleshooting tips, and related resources.
That is why a smart content plan around digital planners should include tutorials, checklists, comparison posts, idea posts, mistakes posts, buyer guides, and case studies. A single Etsy listing can only answer a limited number of questions, but a blog can support the full decision journey. When your posts are connected with internal links, readers can move from general inspiration to a specific product page naturally.
The goal is not to trick people into clicking. The goal is to make your content so useful that the product link feels like the logical next step. A reader who learns how to organize GoodNotes planners, compare weekly dashboards, or choose goal trackers is much more likely to trust your recommendation than a reader who only sees a sales banner.
The Strategy Framework
Use a three-layer framework for every article: search intent, practical proof, and conversion path. Search intent means the post title and opening sections match what the reader typed into Google, Pinterest, or Etsy-related searches. Practical proof means the article contains examples, tables, checklists, screenshots, or step-by-step logic instead of vague advice. Conversion path means the article gives the reader a useful next step without interrupting the reading experience.
For example, a post about GoodNotes planners might begin with the problem, explain who the product is for, compare common formats, show a simple setup process, and then recommend a bundle or editable template. A post about weekly dashboards might include a comparison table, mistakes to avoid, a buying checklist, and a link to a free sample or product collection. A post about goal trackers can target inspiration searches, while still leading readers toward a premium bundle when they want a ready-made solution.
Place your most important product or affiliate CTA after you have delivered value. A good placement is after the first major tutorial section, inside a resource box, and again near the end for readers who are ready to act. This keeps the post useful first and commercial second, which is better for trust and long-term brand value.
Step-by-Step Workflow
Start by writing one sentence that defines the promise of the post. For How to Write Planner Tutorials for Blog Traffic, the promise might be: “help planner sellers use blog content to attract the right readers and guide them toward useful digital products.” That sentence becomes your editorial filter. If a section does not support the promise, cut it or move it into another article.
Next, map the post into five content blocks. The first block explains the reader’s problem and why it matters. The second block teaches the core process. The third block adds examples related to digital planners. The fourth block handles objections, mistakes, and comparisons. The final block gives clear next steps, including internal links, an email freebie, affiliate tools, and your own product bundle.
Finally, optimize the article for scanning. Use descriptive H2 headings, short paragraphs, bullet lists, tables, and anchor links from the table of contents. Digital product buyers often skim before they commit. If they can quickly see that your post includes examples, FAQs, and a useful resource section, they are more likely to stay, click, and return later.
Examples and Content Angles
Here are practical content angles you can use for digital planners. Write a beginner post for readers who are new to the topic. Write a tutorial post for readers who want step-by-step instructions. Write a comparison post for readers who are choosing between formats, styles, or tools. Write an ideas post for readers who need inspiration before buying. Write a mistakes post for readers who want to avoid wasting money. Write a case study post for readers who want proof that the strategy can work.
For planner sellers, examples are especially important because many digital products are intangible. Readers cannot touch a planner page, Canva template, printable worksheet, or digital download before purchase. Your blog should make the product feel clear. Use “what it includes,” “who it is best for,” “how to use it,” “what to avoid,” and “when to upgrade” sections to reduce hesitation.
Goodnotes Planners for beginners
How to set up weekly dashboards
Goal Trackers vs ready-made bundles
Best digital planners resources to save time
Helpful Planning Table
The table below gives you a practical way to turn How to Write Planner Tutorials for Blog Traffic into a structured blog asset instead of a loose idea. Use it when planning outlines, internal links, freebies, product CTAs, and Pinterest promotions.
| Planning Stage | Content Focus | What to Publish |
|---|---|---|
| Week 1 | Foundational guides | Publish beginner guides and category pillar posts |
| Week 2 | Tutorial content | Create step-by-step posts that show how to use the product |
| Week 3 | Comparison and best-of posts | Help buyers choose between styles, formats, and bundles |
| Week 4 | Conversion content | Publish freebie, bundle, and landing-page posts |
| Monthly refresh | Update winners | Improve internal links, CTAs, tables, and Pinterest pins |
How to Add Product and Affiliate Links Naturally
The cleanest conversion path is: helpful article → relevant resource → email or product click → follow-up content → purchase. You can support that path with three types of offers. First, include your own bundles for readers who want ready-made assets. Second, include affiliate tools that genuinely help with the workflow. Third, include free tools or free resources for readers who are not ready to buy yet.
For this topic, a good CTA might say: “Want to save time? Browse ready-made digital product bundles for creators and sellers.” Another CTA might invite readers to try Teachable if they want to turn their knowledge into courses, coaching, memberships, or digital downloads. A softer CTA might send readers to a free online tool hub like Zee Sharp for everyday productivity, development, and creative tools.
Use affiliate disclosures near commercial sections. Clear disclosure builds trust and protects the reader experience. Keep the language simple: “Some links may be affiliate links, which means we may earn a commission at no extra cost to you.” Then focus on why the recommendation is useful.
Useful Resources for Digital Product Sellers
Affiliate disclosure: Some links in this section may be affiliate or partner links. We may earn a commission at no extra cost to you when you use them. We only recommend resources that fit the workflow explained in this guide.
Explore Our Powerful Digital Products Bundle
Browse these high-value bundles for website creators, developers, designers, startups, content creators, and digital product sellers. Use them when you want ready-made assets instead of starting every project from scratch.
Explore Our Powerful Digital Products Bundle
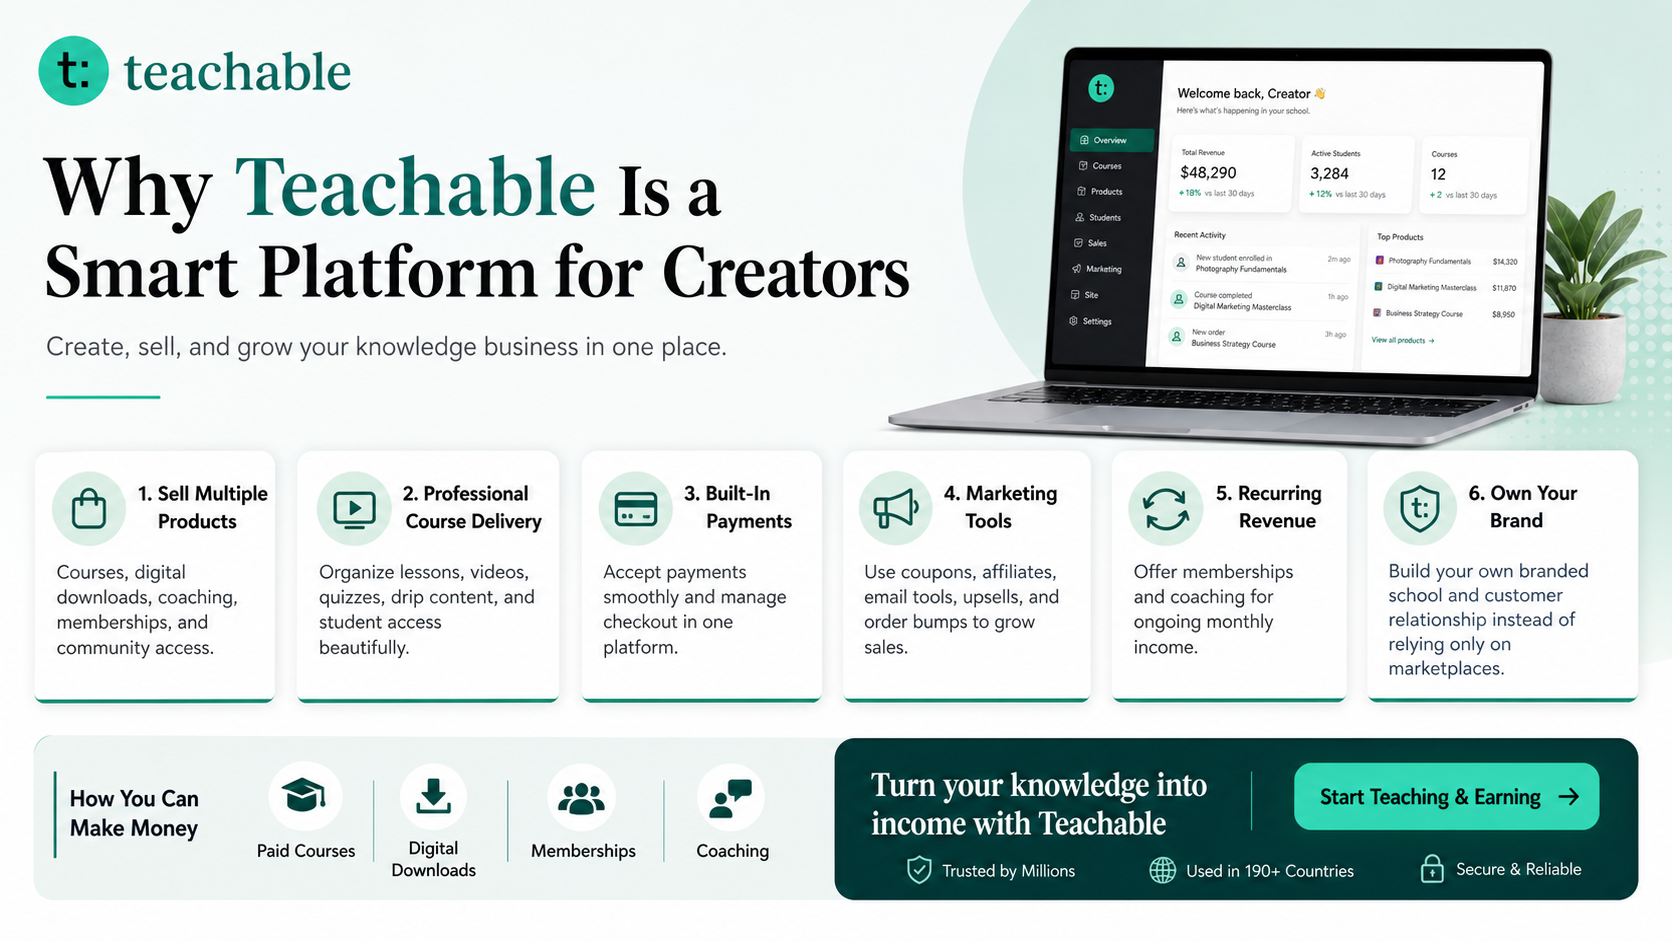
Try Teachable
Teachable is an online platform that lets creators build, market, and sell courses, digital downloads, coaching, and memberships. It helps educators and entrepreneurs turn their knowledge into a branded digital business without needing complex coding.
Learn more on SenseCentral: How to Make Money with Teachable: A Complete Creator’s Guide
Zee Sharp Free Online Tools
Zee Sharp is a growing suite of free online tools for productivity, development, and creativity. No sign-up. No watermarks. Just tools. It is a useful companion for bloggers, designers, developers, creators, and digital product sellers who need quick utilities while building content and products.
Common Mistakes to Avoid
A common mistake is adding too many affiliate links before the article has earned trust. Another mistake is writing a long introduction that never gets to the point. Readers who search for digital planners advice are usually looking for a practical answer, not a brand story. Keep your introduction focused, then expand with examples after the reader understands the value.
Another mistake is treating SEO as a one-time checklist. Blog SEO improves when you revisit posts, update internal links, add stronger examples, improve titles, and connect older content to newer content. If a post receives impressions but low clicks, improve the title and meta description. If a post receives traffic but no product clicks, improve the CTA placement, table, screenshots, and buyer guidance. If a post has no impressions, check whether the keyword is too competitive or the article lacks a clear angle.
Finally, avoid copying Etsy listing language directly into blog posts. Listings sell the product; blog posts educate the buyer. The best posts help readers make decisions before they are ready to buy. That educational value is what makes the product link feel helpful instead of pushy.
Post-Publishing Optimization Checklist
After publishing, give the post a maintenance schedule. In the first week, check formatting, internal links, button placements, and mobile readability. After 30 days, review Search Console queries and Pinterest performance if available. After 60 to 90 days, update the title, add missing FAQs, improve the table, and add links to newer posts. A blog that is refreshed regularly often becomes more useful than a blog that only publishes new articles.
For digital planners, keep examples current. Replace outdated screenshots, update pricing references if you mention tools, and make sure product links still point to the best offer. If a digital product bundle changes, update the post so readers land on the most relevant page. Small updates can improve trust because the article feels maintained rather than abandoned.
- Check that every H2 answers a clear reader question.
- Add at least three internal links to related SenseCentral posts.
- Place one product CTA near the middle and one near the end.
- Create two or three Pinterest pins for each post.
- Review affiliate disclosures and make sure all sponsored links are marked clearly.
- Update the post when products, tools, screenshots, or buyer questions change.
Key Takeaways
- Match search intent first: Readers should immediately know that your post answers the problem promised in the title.
- Use practical proof: Add examples, tables, checklists, and specific digital planners use cases.
- Place CTAs after value: Product links, affiliate links, and bundle links work best after helpful sections.
- Build clusters: Interlink tutorials, idea posts, comparison posts, and buying guides so readers can keep learning.
- Refresh winners: Update posts every few months with better examples, stronger links, and clearer next steps.
FAQ
Is how to write planner tutorials for blog traffic good for beginners?
Yes. Beginners can start with one clear article, one buyer problem, and one helpful CTA. You do not need a large catalog of digital planners; you need a focused post that teaches something useful and links to the next best resource.
How long should a blog post about digital planners be?
Length should follow the depth of the search intent. Many tutorials, comparison guides, and buyer guides work well when they are detailed enough to include examples, steps, FAQs, and product guidance. For competitive topics, a practical 1,500+ word post often gives you enough room to answer the reader properly.
Where should I add Etsy or product links?
Add product links after useful sections, inside resource boxes, in comparison tables, and near the final next-step section. Avoid placing too many sales links before the reader receives value.
Can I include affiliate links in these posts?
Yes, if the recommendation is relevant and clearly disclosed. Keep affiliate links connected to the reader's workflow, such as creator platforms, design tools, mockup tools, digital product bundles, or productivity tools.
How often should I update the post?
Review important posts every 60 to 90 days. Update examples, improve internal links, refresh CTAs, add new FAQs, and make sure external links still lead to useful resources.
Further Reading and References
Internal reading from SenseCentral
- SenseCentral home
- How to Make Money with Teachable: A Complete Creator’s Guide
- Digital planner ideas for GoodNotes beginners
- Planner ideas for solopreneurs
